MMQAL: Cutting Border 7
 Thursday, October 17, 2013 at 9:53PM
 Hi everyone!

First off, let me apologize for this post being up three days late. I have been legitimately, awfully sick. I had a cold six or so weeks ago which turned into bronchitis and my poor body finally gave up in disgust last Friday. I've spent the last six days struggling with basic things like making sure my toddler doesn't climb up the bookshelves and remembering to brush my teeth. I have not felt this genuinely awful since Owen was freshly born. Yikes.
So: I am VERY sorry. I would much rather have been blogging (and SEWING!)
Anyway, due to gross, aforementioned illness and resultant embarrassingly late blog post, I won't be doing a giveaway this week but NEXT WEEK I will do TWO and they will be BIG! We are getting close to the end of the QAL so the grand prize(s) giveaway is on my list...just sorting out the last few details... :)
This week I want to chat a bit about Border 6, as promised last week, and we will talk about cutting the pieces for Border 7.
Border 6
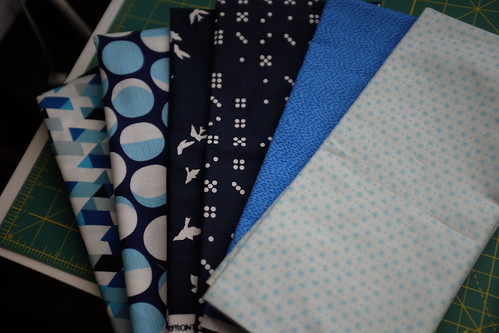
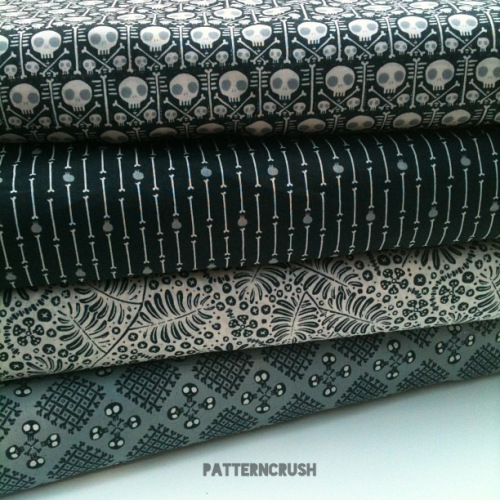
These are some of the fabric choices I auditioned for Border 6.
Constellations, Constellations, Waterfront Park, Waterfront Park, Rain Basics, Constellations.
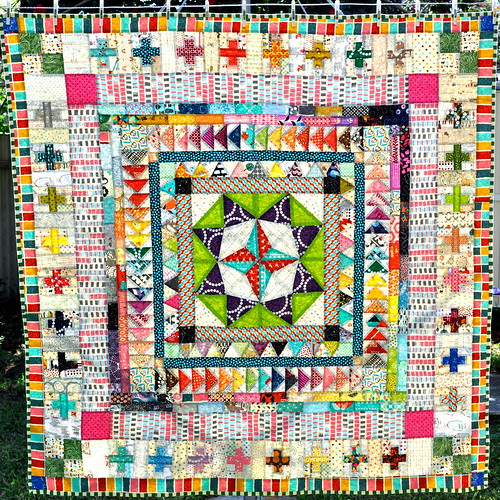
Because Border 6 is a large swathe of fabric compared to the scrappy borders either side, it needs to either stand out or blend in. In my first Marcelle Medallion, I opted for a scrappy-looking print that exacerbated the overall scrippity-scrap look.
So for my first MM, I ended up choosing the scarves print from Sherbet Pips, which I love, and it looks fabulously clashy in all the right ways. (That is sort of the beauty of this quilt, though. It's really hard to make ugly.)
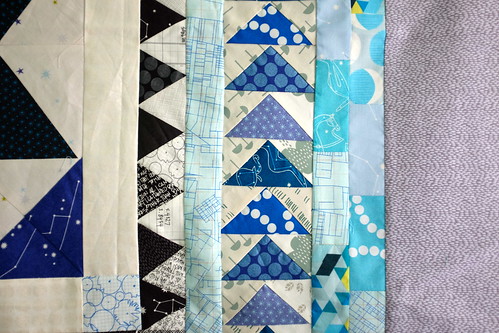
I knew that this quilt was a bit more austere, though, and since I had so much restrained scrappiness going on everywhere else, I wanted to stick to the cool, very small-print idea. I wanted a print so fine and soft that the eye could rest. White was out, and I'd used black, navy, aqua and medium blue in other places. I needed something to fill that space.
Ultimately, I chose Rain Basics in grey.
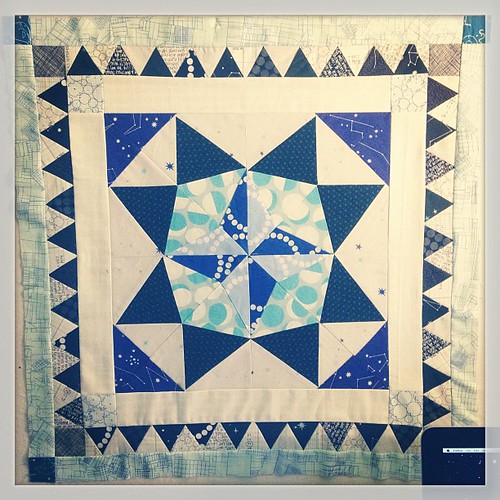
In the overall quilt, it gives a place to pause, visually. It stops you before your eye roves to those scrappy outer borders and lets you have a little rest. Like a rainy day does. Enforced calm. Ahhh.
Now, I have seen a few others doing amazing things with their sixth border...I am jealous of their fabric stash and of their boldness and brilliance! Check these out.
Mary on Lake Pulaski - love the gorgeous vintage vibe of this one!
Deb - this bright blue border adds zingy interest and makes the orange patchwork pop!
Becky - this truly amazing Waterfront Park themed quilt
Jess at The Elven Garden - I love this AMH border, it's like its own patchwork here!
I wish I had written down the quilts I particularly doted over...the ones that were so great, I would jab my poor husband in the knee with my iPhone saying, "LOOK AT THIS ONE!" but there are so, so many. And they are all so, so beautiful. :)
Cutting Border 7
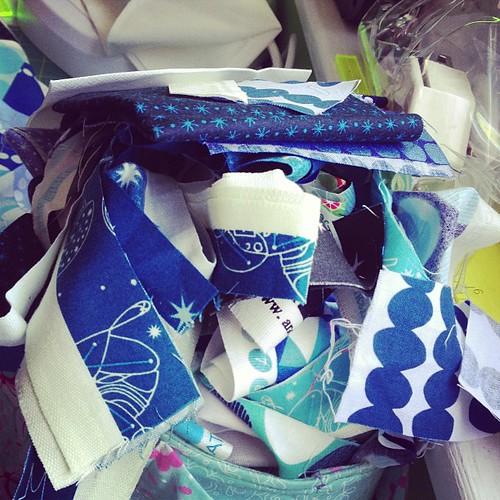
By the time I got to Border 7, I knew I would have plenty of scraps. And hoo boy, did I ever.
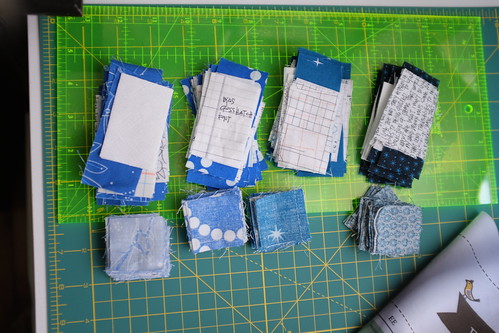
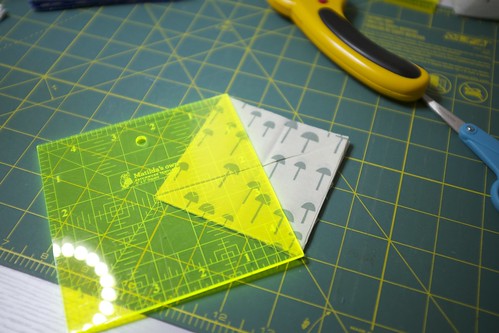
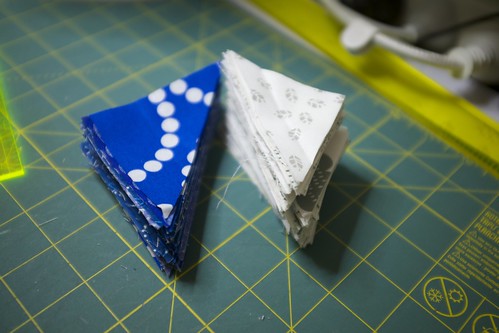
I narrowed my scraps down to four feature fabrics in nearly the same color range - there are three different medium blues and one black with blue accents! I wanted mainly the best constrast between my crosses and the background as I could get. I also wanted to stay away from something paler - it would have been washed away by my rainy 6th border.
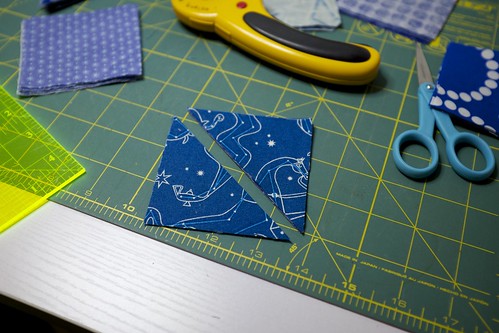
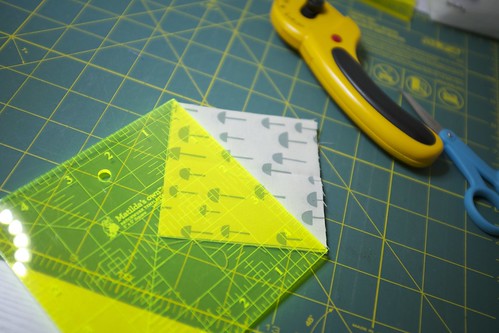
These I cut first into piles according to color, and then I sorted them into individual crosses. It was easy enough to chain piece them, as they were squares!
Of course I had sewing company that day, so they got done rather quickly. Thank you Sel. :)
All right! NO LINKUP this week, just because germs are gross and I have them, but I'll do TWO PRIZES next week, so look for me on Monday!
Hope your week and weekends are really lovely - think of me, I'll be attending my guild meeting as I'm not contagious, but I hope no one asks me any questions...I might not be able to answer coherently! ;)
Cheers!
Penny xx
 mmqal
mmqal 