MMQAL: Border 4 (cutting)
 Tuesday, September 24, 2013 at 1:06PM
 Hi everyone!

This week we tackle a slightly scary border. So scary, in fact, there are two weeks alloted for this border...one for cutting, and one for piecing!
As you can see, I am up to border 3, and am ready to start my flying geese!
Firstly, there are several ways to make this border, but I am going to illustrate how I cut it (according to the book)! In order to accurately piece this, it must be accurately cut. This block is so teensy that it needs definite care!
Tools needed:
- rotary cutter
- cutting mat
- squaring-up ruler with 45º line
I chose to use a bright medium blue for my geese centers, and low-volume fabric as my geese corners. I cut the fabric to the directions in the book, in squares.
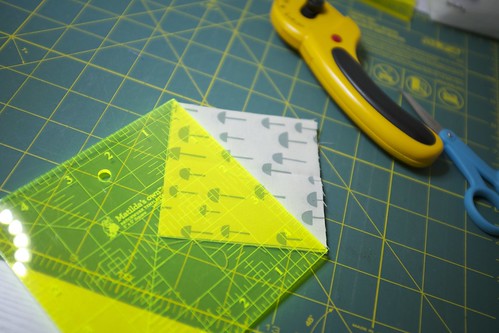
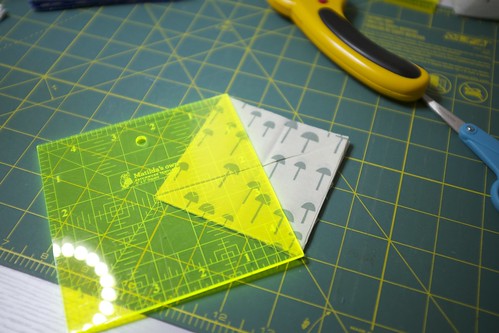
Then I lined the top edge of the main fabric square up with the 45º angle on my ruler. I made sure my points were exact!
Then you cut along the ruler line. I try to cut four or fewer at a time. Any more and you'll definitely lose accuracy. Cutting two at once would be even cleverer, but I'm pretty confident in my rotary cutting skills by this point!
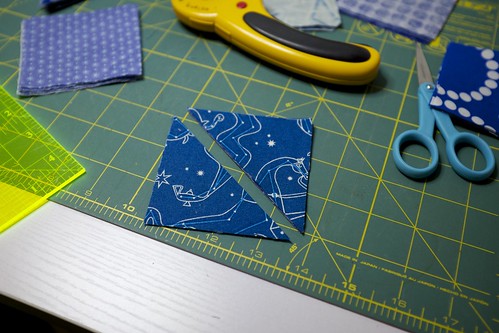
Next up are the background triangles. You will do the same, lining the top of the square against the 45º line, then cutting across the diagonal.
Only this time you will carefully turn your ruler (and yourself, be safe!) and you will line the left hand side of the square up against your 45º line, crossing over the existing cut.
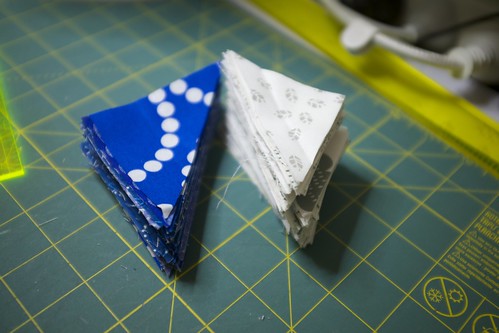
There you are - all your half square triangles (HSTs) and quarter-square triangles (QSTs!)
Now, next week there's a fabulous prize donated by the amazing Samantha at Pattern Crush. She is offering this gorgeous half-yard bundle of Dem Bones by Sarah Watson for Cloud 9 Organic.
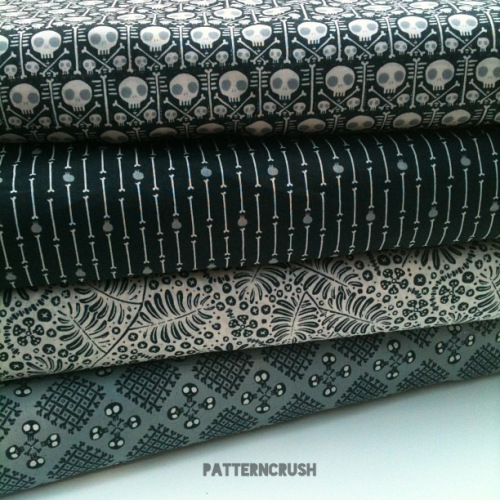
All you need to do to be eligible for the prize is to link up with a progress shot and let everyone see how you're going! Can't wait to see how everyone is going!!
Cheers
Penny xx
 mmqal
mmqal 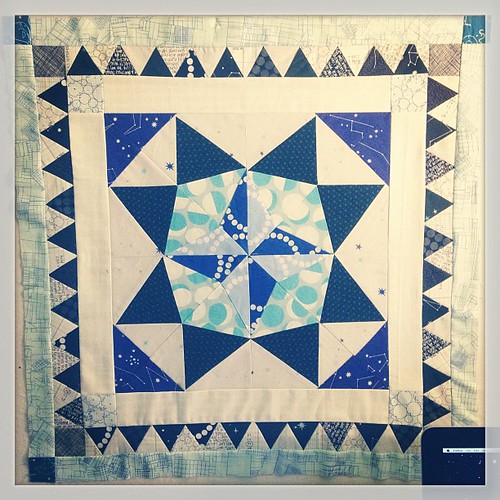

Reader Comments (5)
For anyone looking for another way, I sewed all my flying geese using the no waste method, and they sewed up in a flash. I like sewing squares over triangles. I feel the bias is a bit more forgiving. You will need (1) 4 1/2 inch square for the middle and (4) 2 1/2 inch squares for the outside. This will make 4 flying geese. I just used four different 2 1/2 inch squares for variety. These measurements will give you the needed 3 3/4 width you'll need to complete her instructions for the border. There are a ton of tutorials on how to sew easy no waste flying geese. Good luck!
Hi Penny! Loving the quilt along! So glad I have joined! Seeing everyones come together is lovely. It makes me happy! Loving the pictures on IG! Just thought I would say thanks for a great quilt along!
Cheers Lisa
By my math, for no waste flying geese the large square is 5 inches and the small is 3. Eek! I hope mine turn out okay!
My math was wrong! Don't listen to
Me, listen to Becky!!! Gah!!!
I don't think it matters exactly what size your geese are. You want it to fit nicely to the previous border, but you can always change the size of your cornerstone squares to match the width of your geese. The rest of the borders are fairly forgiving as well. I imagine by the time we are done, all of our quilts will be a bit different in size! :)