MMQAL: Color vs Value, Scant 1/4" Seams, and a quick foundation pattern drafting tutorial!
 Wednesday, September 4, 2013 at 1:33PM
 It's a busy day and this is a BIG post! Apologies about the length - I had thought to break it up but figured I may as well put it all in one and then let you busy bees have the weekend to work on your centre medallions if you so choose! (Remember, the official start is next week! I am just hoping to help you with all your prep!)

Firstly, let's talk about choosing your fabric. There are a few key visual design elements to keep in mind, but today we will start by talking about color versus value. I am not an expert, so please bear with me, and it would not hurt you at all to read Jeni's excellent series on the art of choosing. It is chock full of the whys and hows of fabric buying and it changed my wasteful habits to a considered, less-messy approach! Jeni is basically the Hermione Granger of color - if you have a question, dollars to donuts she's answered it somewhere in there - otherwise, send me an email and I'll do my best to help you out!!
Color Vs Value
In a nutshell:
- Value is how light/dark the fabric is.
- Color is where it falls on the ROYGBIV (red-orange-yellow-green-blue-indigo-violet) spectrum.
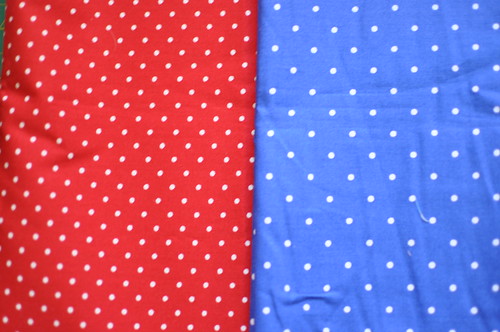
This red spotty fabric looks very different to the blue spotty fabric...
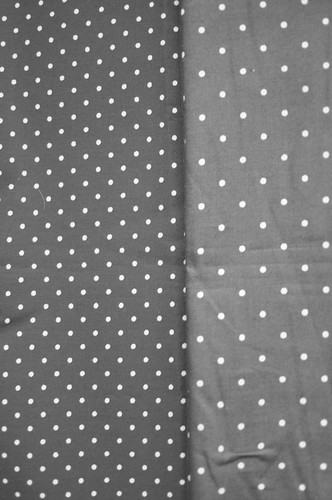
Until you put it in black and white!
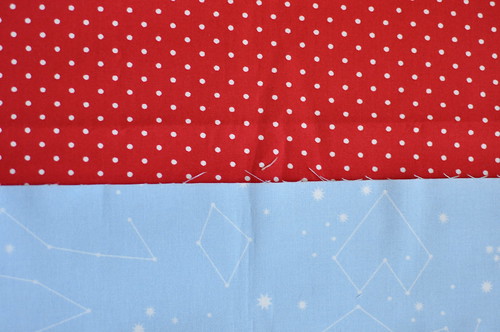
They don't look so different now, do they? That is because though the color is different, the value does not vary. On the other hand, this red spotty fabric looks quite different to the light blue fabric. We don't even need to put that in black and white to see the difference in value.
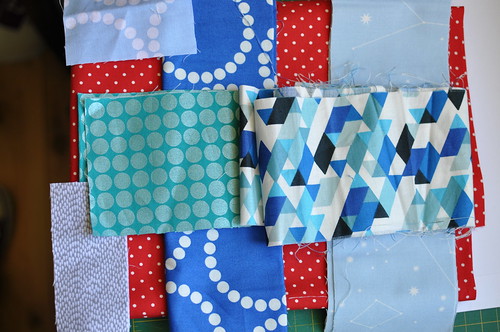
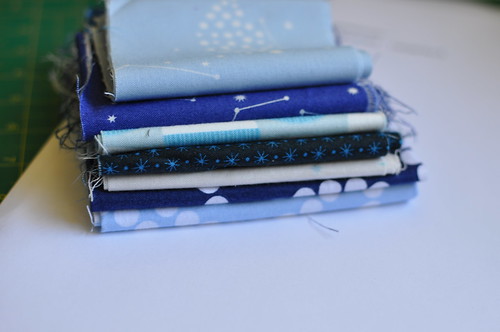
So, bearing that in mind, when you choose fabric for your Marcelle Medallion centre star, you should be looking for a combination of colors that work well together, and keeping an eye on your value. I am doing a cool-color quilt so my contrast for the centre star has to come from value. As you can see, my centre medallion fabric stack is all blue.
I had a good browse of the Pinterest Board today before I chose my stack to see what other quilters had put together. I noted that my fabric choices vary in scale - that is, some of the prints are little, some are big, and as a bonus, they are a combination of sharper geometrics and rounded shapes. If you are going very-large scale, consider making those fabrics the plain borders and even incorporating a lot of corresponding solids into your pieced borders! For the centre medallion you want it to be striking, interesting, dynamic, but not overwhelming! You'll know it when you see it.
(Just as an aside, I want mine to look like a supernova! We will see if I succeed.) :)
Hopefully that helps, and if you need inspiration, we have a few places you can go:
Marcelle Medallion QAL Flickr Group
Marcelle Medallion Pinterest Board
Okay! On to part two!
Scant 1/4" Seams
Confession time: when I started quilting, I patched together a bunch of squares in a 9-patch with 3/8" seams. I'm not even embarrassed to admit it - coming from a dressmaking background, I was well-familiar with the good old 5/8" seam and thought I was pretty clever for scaling it down to 3/8"...that was, until I bought an actual quilt book with actual instructions!
Still, it was a good thirty or so quilts later that I began to embrace the scant 1/4" seam. The difference is a few threads, and it's easy to do. It makes for super accurate sewing, and once you go scant, you never go back!
As a quilter, I have a sewing machine foot with a 1/4" seam allowance. On my Janome, it was closer to scant than "true". After sewing on my Bernina for a while, though, I noticed my blocks never seemed big enough. I pressed my seams open, eased and eased, and still had finished quilt blocks a shade too small. All those little extra 1/16ths of inches were adding up, and making my blocks too small.
My guiding foot, it seems, was for a true 1/4" seam. Alas.
So here is what you can do if you don't have a guiding foot, but want to make a perfect scant 1/4" seam. You'll need:
- a clear ruler with a 1/4" line (I use a Matilda's Own 12" x 1/2"; a similar one can be found here)
- washi tape or masking tape; alternately, just draw on your sewing machine
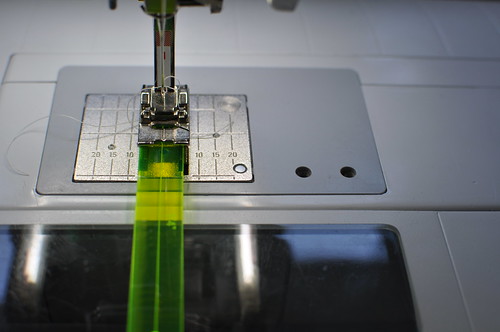
First, this is what most people have on their machines, right? Bog-standard foot.
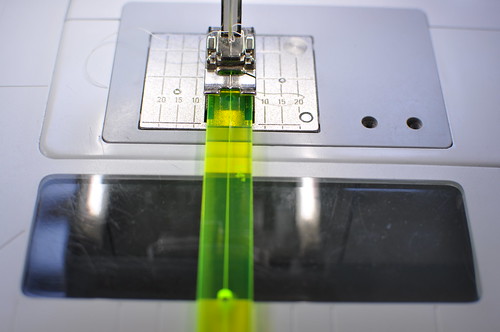
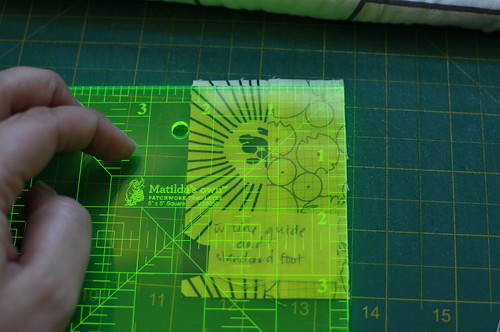
Line the quarter ruler under the foot with the seam line right under the needle. This should follow with the guides on your feed plate and whatever is written on your machine (or stamped or printed or embossed on your machine.)
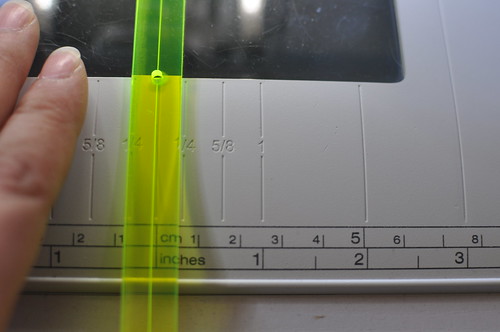
Now move it just a hair to the left. You just want that "seam line" offset a teensy bit.
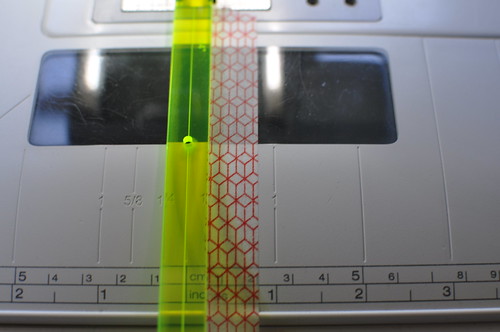
See how, when you look at your guides, it's a little less than 1/4"? Just a skerrick less.
This is where your tape edge should go (or, brave soul, your Sharpie line). Now you can use this as your guide.
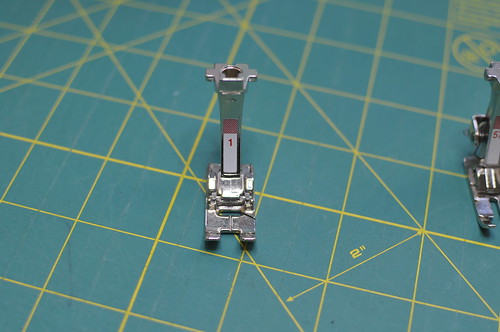
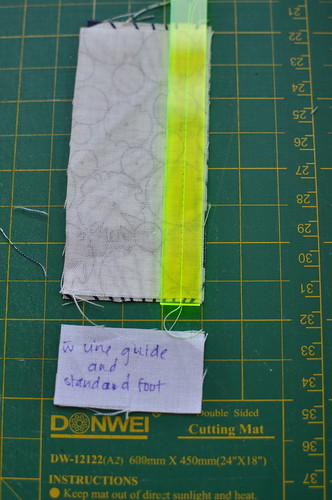
So, say you don't do this, and you decide to just use the sewing machine guides as normal. Same bog-standard foot. I did a test and this is what I came up with when I used my #1 foot and the printed guides (not my scant Washi tape guide). See all the extra fabric hanging over the edge. Bad news bears.
And, hoo boy, it shows - it's a full 1/8" shorter than it should be. Ack.
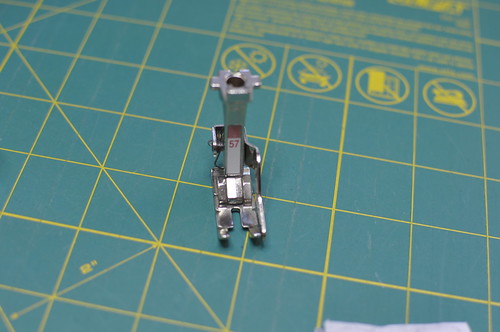
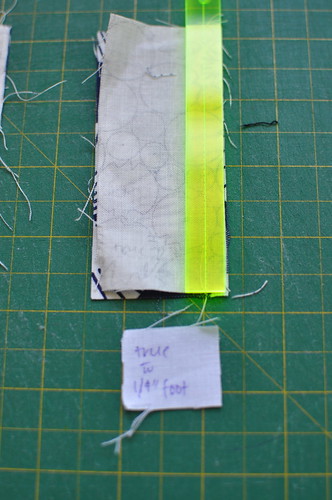
So then I tried it with a 1/4" foot, my #57 foot, which I know to be a "true" 1/4". It's okay, but it still seems to be sewing too far in. I could probably ease this with a lot of pressing.
You can see here it is just a teensy bit short of the measurement - maybe 1/16th short.
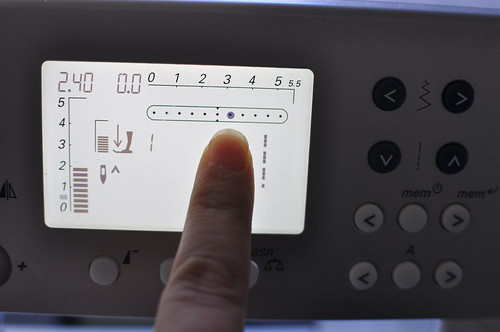
Finally, I tried it with my personal favorite way of guaranteeing a scant 1/4" stitch: I put my #57 guiding edge foot on and moved my needle position one stop to the right.
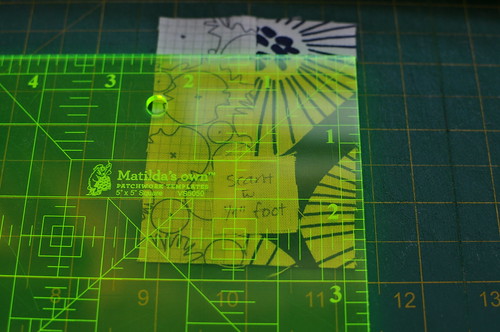
And lo, look at that: a perfect scant seam!
It definitely meets the measurement and there is even room for trimming (a must if you're as fussy as I am about points and squares!)
This is worth spending ten minutes making sure you know how to get a scant 1/4" seam on your machine. If all else fails, mark your seams until you can comfortably eyeball a scant 1/4" seam. I still can't eyeball it, though I'm in the neighborhood. I really rely on my needle position trick - in fact, when I turn my machine on, I usually move the needle before I do anything else!
Hopefully that helps! Whew! On to part three!
How to draft a Marcelle Medallion Foundation Piecing Pattern
For this tutorial, you'll need:
- Your Marcelle Medallion centre star pattern pieces
- sticky tape
- a ruler
- a pencil
- tracing paper (or regular paper and a window)
- access to a scanner/printer or photocopier
- eight sheets of foundation piecing paper (or regular paper)
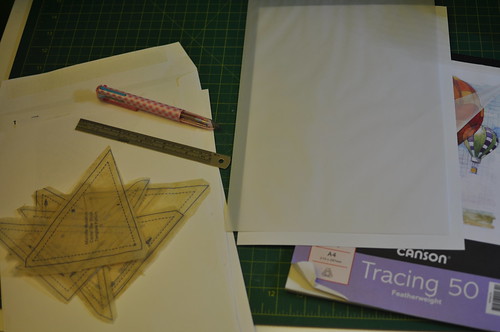
Gather your pieces and supplies.
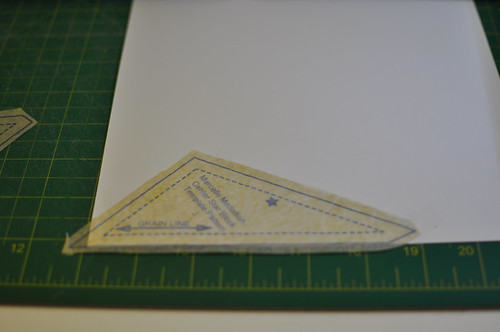
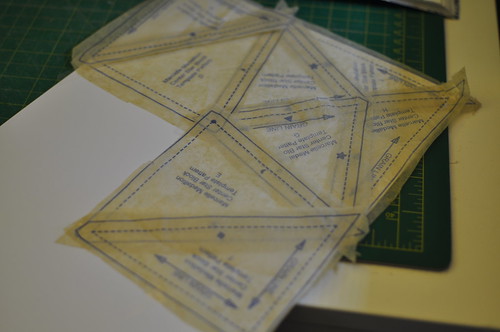
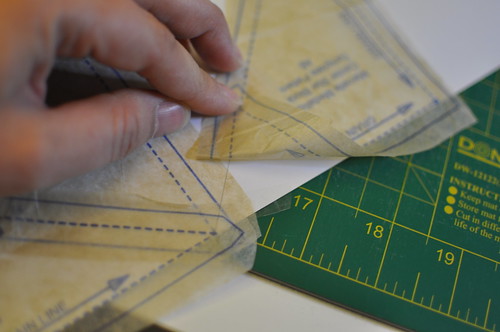
Starting with the points of the star, lay out the first piece (J) leaving 1/4" room allowance on both sides. The bottom of Piece J is the solid line and should touch the paper's edge. Just use tiny bits of sticky tape as you go and use only enough to tack the pieces down - they're fragile.
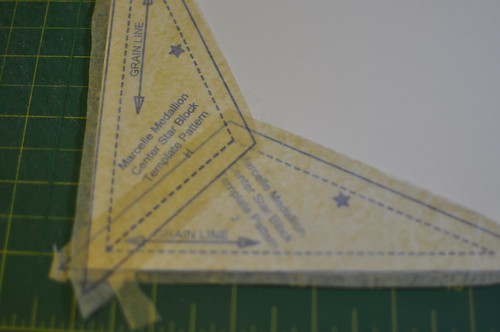
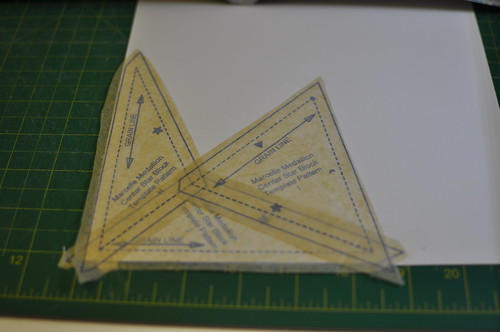
Next, match up Piece H (the other star point) by overlapping them and by matching up the dashed lines. Not the solid lines, the DASHED lines.
Add piece I to piece J, being mindful of the 45º angle of dashed lines created by the meeting of H and J. Continue this angle perfectly - it's important.
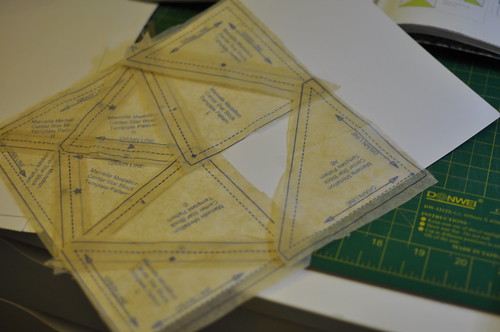
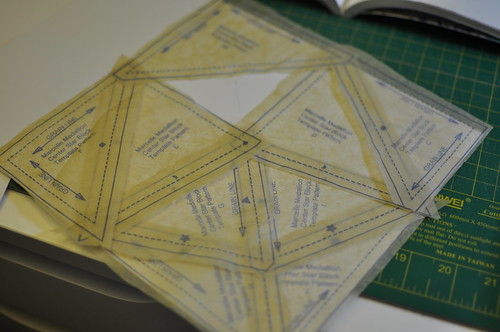
Add Piece G, Piece E, and Piece D, making sure to match dashed lines. Take note that the dot between E and D is perfectly matched, too. Add Piece C and Piece F.
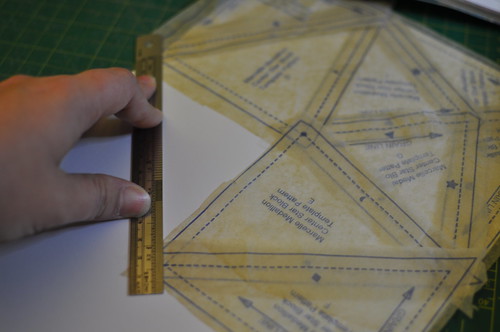
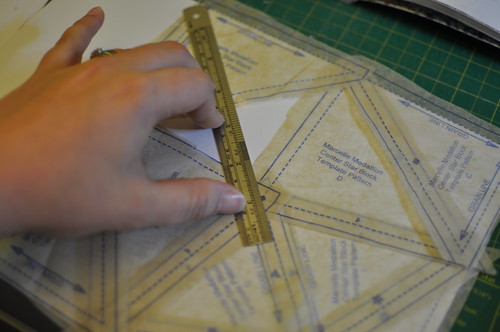
At this point you might have noticed you only have one AB piece! Well, no bid deal. We can fake it. Get your ruler and make a line between the dashed-line points of Pieces E and D.
Match your AB dashed line with this pencil-drawn line. See? Works great.
Okay! Now this is looking like a good quadrant! The only thing is, it's still not quite foundation-friendly. It needs to be split into two reflective pieces. Half of the block is already split, but that ends at the dot intersection.
So we take the ruler and draw in the line, continuing the 45º line through the square. This will bisect both AB pieces but that is the sacrifice of foundation pieces! If it worries you from a fabric perspective, try a busy/nondirectional ditzy print where the pattern won't have a chance to misalign,or stick to a solid for those pieces.
Okay, the line is drawn. Hey, that looks pretty great!
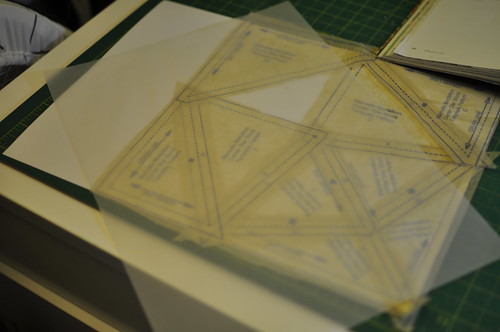
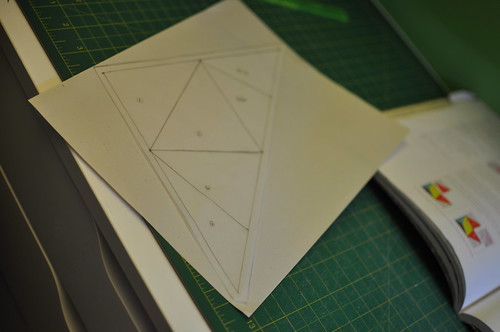
Take your tracing paper, and lay it sideways over the left half of the square. Try to make it fit as best as you can point-to-point within the paper.
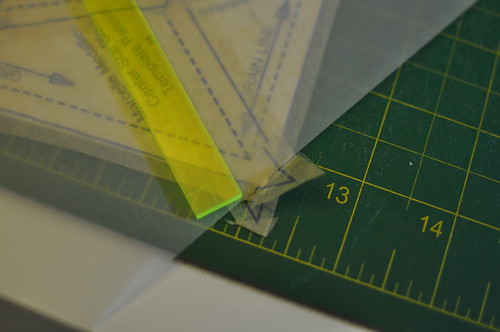
Make sure there's a bit of space at the bottom...
...and the top. A quarter inch is good, but fiddle with it until you get the right amount.
Over your tracing paper, trace the middle 45º line.
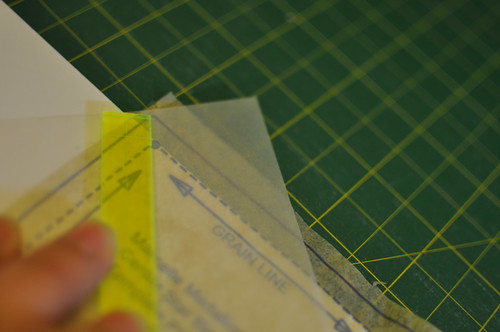
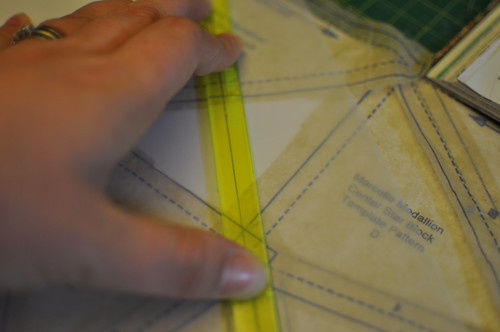
Using a see-through ruler, trace another line to the right of the first line, exactly 1/4" away. This is the outside edge of the pattern piece.
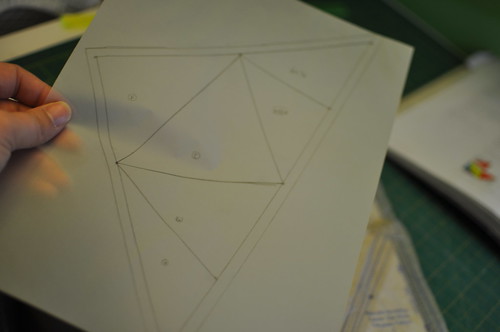
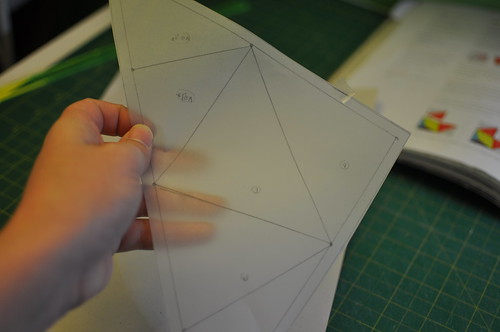
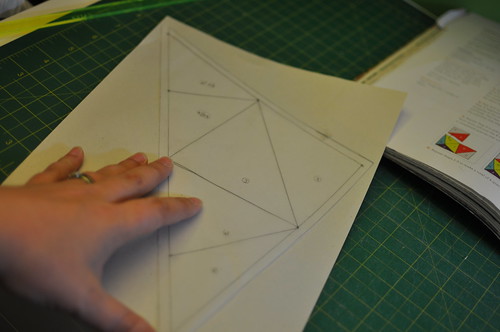
Then, trace all around the rest of your half-piece. Make sure you trace around the solids and the dashed lines. Be sure to get all the intersections between the blocks. I like to label my blocks as well as I go so I know which is which. When you're done, your tracing paper should look a bit like this.
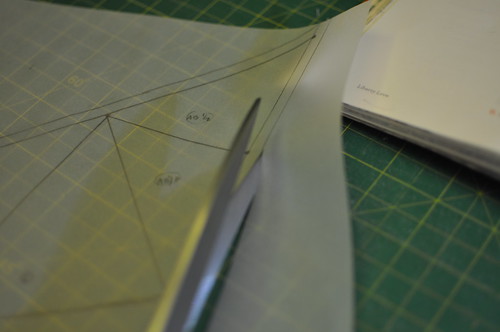
Cut it out on or very close outside of the edge.
Now, this is the left side of each quadrant.
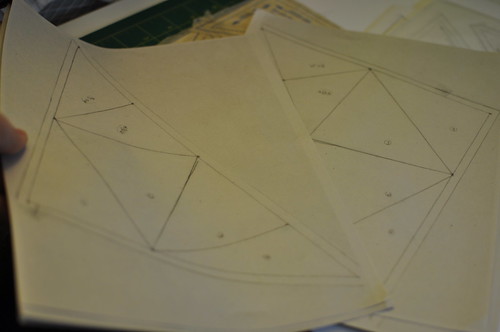
You will need four copies of this. I put it down on some paper and make my copies. The paper just serves as the guide so I know it's on the copy machine correctly.
Well, now we have our left halves copied...I guess it's time to do the right. BUT WAIT! You can just turn the tracing paper over and VOILA, RIGHT SIDE!
It's like magic, right? Now you see why I used tracing paper! Same thing again, put it on a piece of paper and photocopy it four times.
Now you have all your pieces!
If you're a pro at foundation piecing, start your engines and get going - as usual, start from the centre outward (in this case, the middle of the block - Piece E or D). If you need a bit more guidance, please let me know in the comments and I can photograph as I go with mine, or find a tutorial on paper-piecing on the internet. (I like this one by The Crafty Gemini on YouTube. It's long but really thorough.) And if you save your tracing paper template, you can photocopy it as many times as you like!
I hope this was helpful - I can't wait to get the ball rolling on Monday!!
Cheers!
Penny xx




Reader Comments (10)
Thank you so much for this post! I'm not positive whether I'll join in the quilt along now due to other sewing commitments, but I have the pattern and am planning to make Marcelle someday! I'll definitely save this post for that day - the foundation paper piecing seems like such a better way to do the center medallion and your tutorial is so clever.
I found your blog through seeing others sign up for this quilt along and am so glad I did!
Wow this is awesome! Thanks for sharing :)
Thank you! What a great tutorial for the qal. The photos are so helpful!
I was thinking EPP, but now after your tutorial on making a foundation pattern I am leaning that way. Thanks for the info.
well that was very thorough!, excellent information thank you Jenn.
This is absolutely brilliant! I have my templates made and ready to go. I assume you're using A4 paper. It's a bit of a tighter squeeze for us Americans! Thank you so much for taking the time to writing this tutorial. Looking forward to the quilt along!
Yay! Confident of success. Unlikely other attempts which we shan't go into. (sshhhhh!)
Maybe I should get involved...seems like it was named for me!
A friend sent me the link to the Quiltalong ... love it!!
Mind = blown!!! I have now made two center medallions the old fashioned way and wasn't happy with the way they came out - I am totally doing this! Thanks, doll :)
Really great post. Could I be really bold and ask for the foundation templates please? :) really good instructions but I just can't get my head around it :)
Rachael