MMQAL: Centre Medallion Part I EPP
Hi everyone!
Today is the day we talk about how to EPP the Marcelle Medallion, the centre of the quilt. Now, if you're not confident with Y-seams, or you want to get a head start, then this is the tutorial for you!
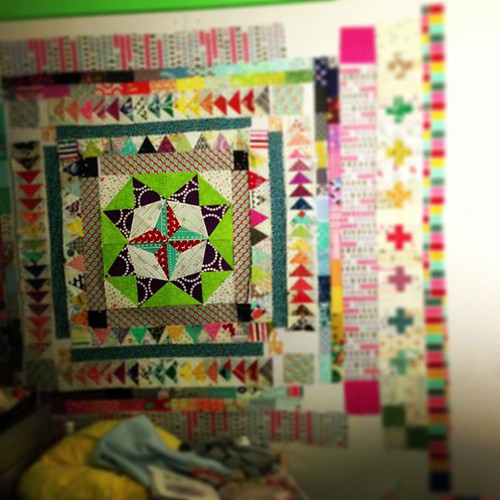
Confession time: my first Medallion was super-wonky. I fussed and eased and marked seams and tried for ages and in the end it was so wobbly. I could have cried. I wanted to make the quilt, though, so I worked out a way to get a nice, flat centre. That's the one you see up there. It's paper-pieced.
First, if you're not familiar with the basics of English Paper Piecing, there are great tutorials here, here, and here. In this instance we'll be making our own templates, though I warn you, paper piecing is addicting and you will soon be browsing PaperPieces.com and telling yourself you can DEFINITELY hand-piece a lone star quilt. Or maybe that's just me. Ahem.
What you will need for this tutorial:
- Cardstock - 8 pieces
- Access to a copier or scanner/printer
- Thread (any old will do)
- Needles (lots of paper pieces swear by Clover Black Gold needles, I use milliners/straw size 9)
- A ruler with a 1/4" measurement
- A pen or pencil
- Scissors
Okay! Let's get to it!
Marcelle Medallion EPP Tutorial
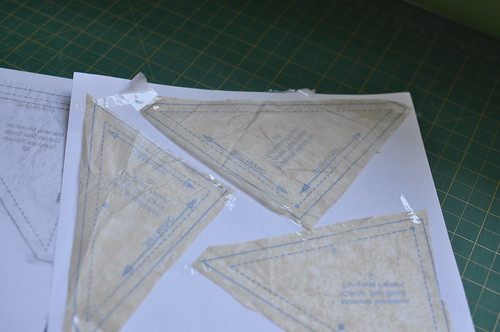
First, get your pattern pieces from the back of your Liberty Love book and cut them out. I cut mine loosely since I knew I would be tracing or copying them. Now you will need two A4 or letter sized pieces of paper. Arrange them loosely on the paper with enough space on both pages for the piece marked AB. Use a teensy bit of tape to fix it to the paper.
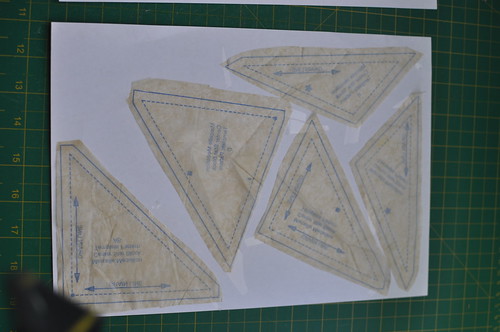
Oh, and put them on upside down. Imagine the fabric going over the cardstock - it would cover up all the matching symbols etc if they are right side up and you don't want that. So if they are photocopied upside down, the right side up will be under the wrong side of the fabric. If that makes sense!
Anyway, this is what page 2 should look like. See that gap? That's for AB.
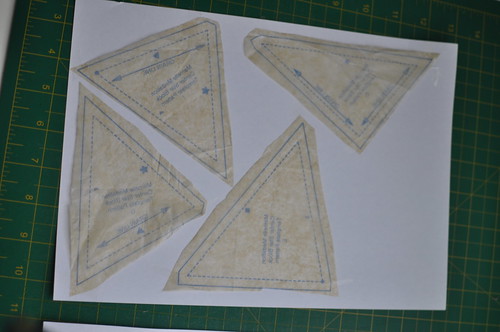
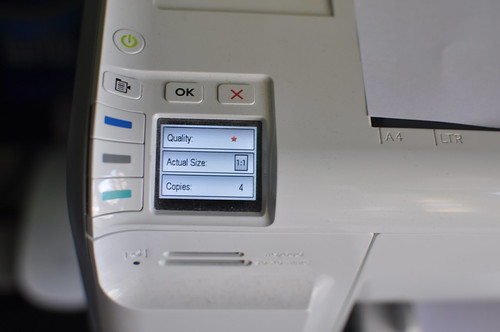
You need 4 cardstock copies of page one. I like to use the draft or low-quality setting on my printer.
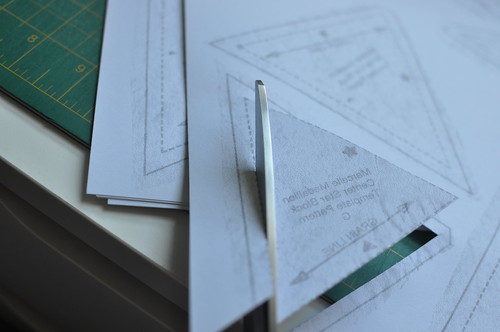
Copy page one, then transfer pattern piece AB to page 2. Make four cardstock copies of page 2. Now you've got all your paper pieces!
I like to store the master pattern pieces still stuck on the paper, so you can tuck them into nice big envelope with the rest of the patterns from the book and know they are all kept together.
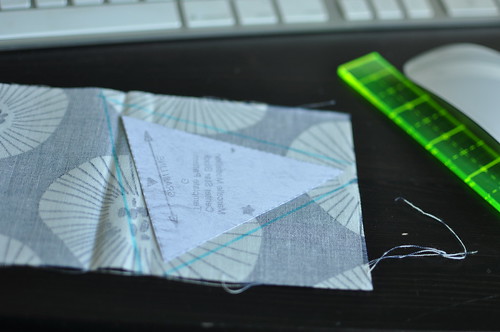
Now, to cut the pattern pieces out! Because EPPing means you are making hyper-accurate pieces of the *finished* piece, for this pattern, you cut the dashed line, not the solid, outer line. The dashes are thick so I try and cut exactly in the middle of the dashes! You can use scissors, as I've done here, or a ruler and rotary cutter if you have a steady hand.
Once you've cut the pieces out, lay them out on your fabric, "wrong-side up" for both pattern piece and fabric. Use your 1/4" ruler to mark a seam allowance all around the piece.
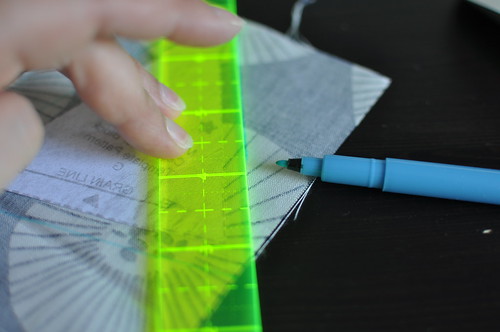
Once you have the shape drawn out, go ahead and cut it out.
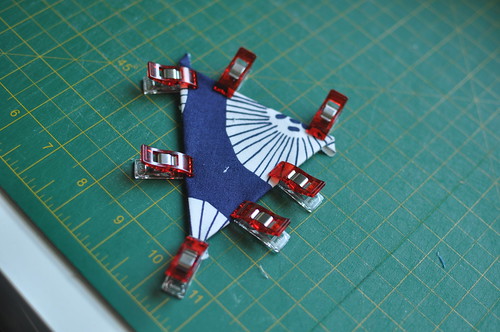
I like to wrap the fabric around the shape using my Clover Wonder Clips and then take them off one by one as I baste.
Okay! That's how you make paper pieces for the Centre Medallion!
A quick note on basting/sewing them together: I haven't photographed this bit because I haven't started it yet, but if you sew this, make a note to sew this in quadrants (top left, top right, bottom left, bottom right) from the center outward (so the points of the star, then outward.) Also, if you can, make all the intersections between the quadrants as straight and perfect as possible!
I hope this is clear - if it isn't, feel free to shoot me an email and I'll do my best to help you out!
Tomorrow we will go over getting a scant 1/4" seam, choosing fabric, and color vs value! See you then!
Cheers!
Penny xx
 Penny Poppleton
Reader Comments (6)
This is sooooo great! I'll be breaking out some new tools.
Thanks so much for doing this :) I trust my EPP skills over my Y seam skills! Especially since I've never tackled Y seams before.
Y seams can be tricky but well marked Y seams are not so bad! I just prefer foolproof methods...even if they take longer ;)
Joining in and piecing the center medallion by hand. Haven't quite got the y-seams down yet :(
Thanks for the tips!
I think I am joining in on this QAL too :) I am not sure if I will EPP the medallion or sew it by hand, but I am leaning toward the EPP. That way I know it will be precise. I better figure out my fabric, this looks like it will be fun.
Penny, I am giving away a copy of "Love Quilting" which has the marcelle medallion pattern in it, if you want to send readers over who haven't gotten their pattern yet. giveaway open until Sunday 9/22
fabricsandflowers.blogspot.com