Aussie Aviatrix QAL - Butterfly Border!
 Monday, December 8, 2014 at 11:15AM
 Hi everyone! Thanks for popping by to have a look at my quick post on how to do the beautiful butterfly border! I'm certain you enjoyed Daisy & Jack's post on the log cabin border, so full of great tips! Thanks again to Linden for organizing the QAL and inviting me to join. :)
A quick note on my design choices: I did follow Elizabeth Hartman's color chart, but instead opted to work from my stash and use prints. For the white fabric, the only pure white is in the centre star, and the rest are various white-on-white Cotton & Steel prints. The solid grey background is Michael Miller Cotton Couture in Ozone and the white in the medallion is the RJR Supreme Solids white that came with Cottn + Steel. (I will list all the fabrics eventually!)
Let's get started!
First things first - butterfly wings! If you're not fussy cutting, I found it was very easy to just stack up several layers, draw around your template on the top layer, and use your rotary cutter and ruler to cut along the lines.
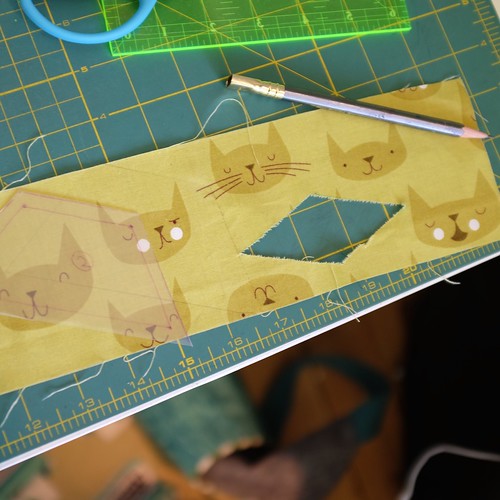
I did fussy cut a few, and I will show you how to do that. Gather up your tools - your templates, scissors, a half-chewed up pencil, a ruler, a rotary cutter (not shown because of grabby hand toddlers).
I wanted little cheeky kitties for this one so I traced around a few. I'm missing a point there but it's okay as it's not inside the seam allowance (which is drawn on my template plastic).
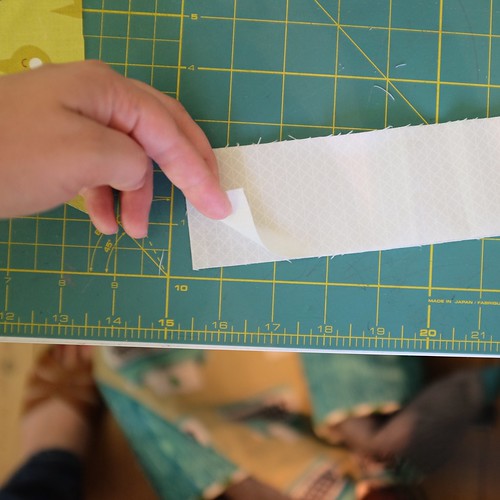
Now - my fabric for the background has a right side and a wrong side. If you double it over, wrong sides together, as shown, you can get all four pieces from just two cuts.
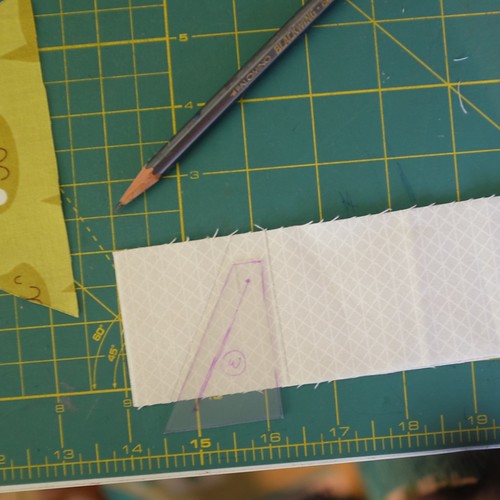
So lay down your BG template, draw the angle, and then turn it around and complete the rectangle.
You can do this the whole strip of fabric, but since I'm just making the one block, I'll stop here and use my rotary cutter and ruler to cut them out. :)
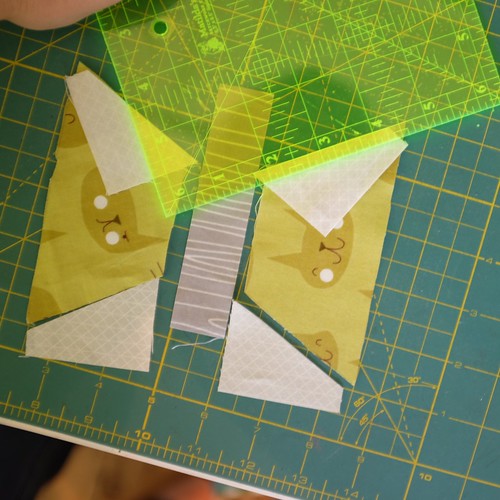
I had my neutral stems all cut out in advance, so I could lay the block out to admire it (and make sure I was sewing it correctly). :)
Here's where I deviated. I have sewn enough triangles to be able to eyeball a 1/4" seam and know where the little dog ear falls off, so I didn't bother marking a single one of these. I am a terrible blog hop person for not showing you how to do it with the marked dots, so if you are not a confident sewist, you should definitely mark yours! But if you're after a quick cheat, you can lay yours out like this and check the seam line against your ruler. See how that quarter inch line comes at where the points meet?
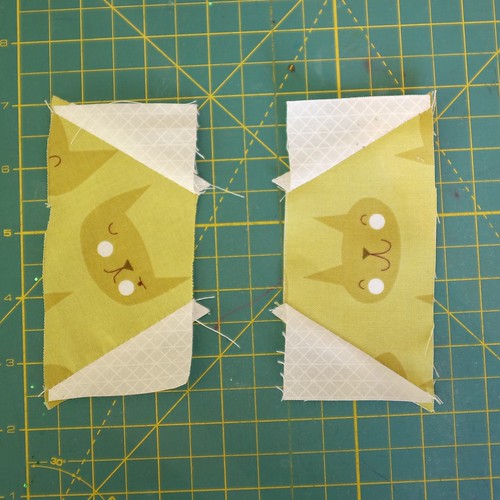
Once you've sewn it, press the seams. I pressed mine outward from the centre, but you might want to press them open - that is up to you. (I opted for quick!)
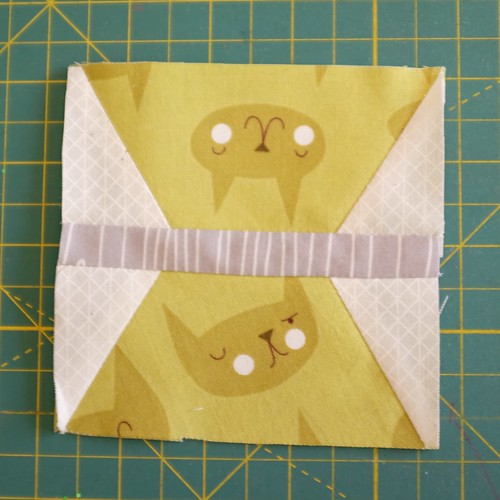
Sew your stem on. And voila! A very blurry picture. (Sorry. Don't know what is going on with my regular camera!)
I pressed my blocks like this, with the stem being completely obscured on the back. It still lays pretty flat and looks pretty good, and as I know where all the seam lines are, I can hand-quilt it accordingly. (I use different needles for different thicknesses!)
So that's how to make a single block!
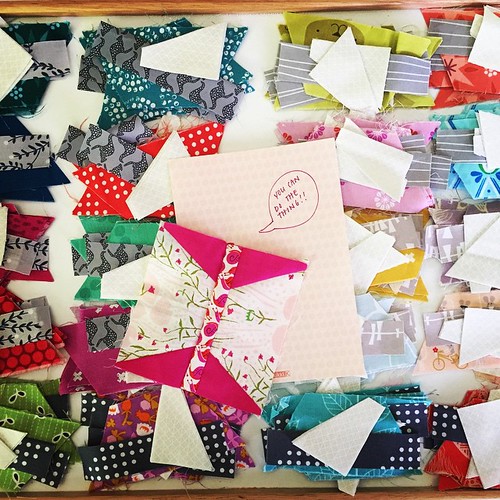
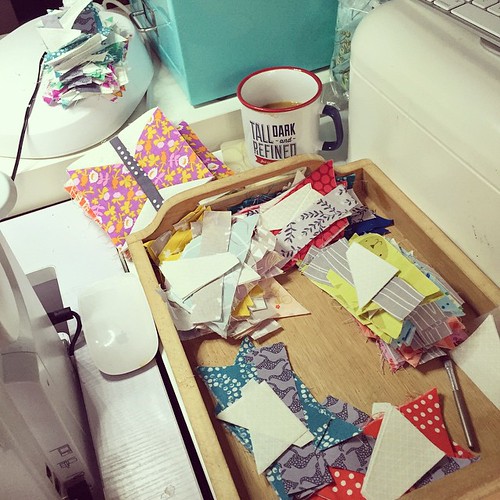
I organized mine for chain piecing by separating them into color piles. The butterflies are actually pretty easy as the colorful fabric coordinates with the neutrals, eg all the Fabric 1 colorful wings will have Neutral Fabric 1 stems. I then put them on a work tray and used my test butterfly block to encourage me along. :)
It got a bit messy at times. I had to perk myself up with coffee. (Pun alert.) By the end I was just chain piecing entire sections one BG triangle at a time, snipping it, flipping it, and doing the other side. I pressed in bulk, then added stems to one side of every finished wing piece, pressed it, then added the other finished wing piece.
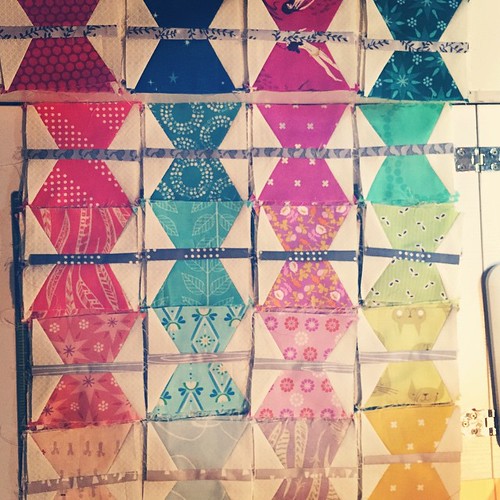
Chain piecing it in sections does make it go a LOT quicker - and once you've made a few, you get a feel for where the seam line goes. Here are all my finished blocks, ready to be plucked from their little grid and sewn into rows! (This was very late at night a few weeks ago.)
I followed the pattern exactly, as it was much less of a bother than figuring out an alternative. Haha.
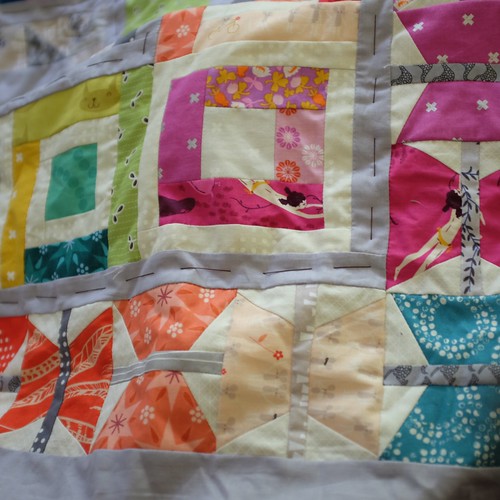
Here is my finished, basted quilt top as of yesterday! It's being hand-quilted.
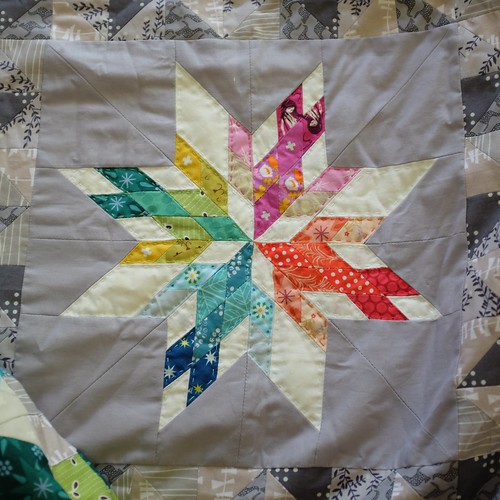
(A close up of the hand quilting just to show it off a bit. I'm using Aurifil Mako 12wt and applique needles with a thick 16" hoop, and hoping to get it done in a few months. I've got a lot of TV shows saved up to watch while I quilt.)
So that's it! I think the butterfly border was pretty quick once I got into a rhythm. It's not a one-hour border, but it's a solid half-day of sewing if you prep well. Even better if you don't have to check to see that your fabric is right sides together...there's an argument for using solids if ever I heard one. :)
Happy sewing and thanks again for having me!
Penny x





Reader Comments