mrs billings coverlet
 Wednesday, December 17, 2014 at 1:19PM
 As many of you who follow me on Instagram know, I've been working on a particular quilt since my birthday this year. As I turned the big three-oh, I wanted to do something BIG, a project to mark a new decade. I've been toying with making a Farmer's Wife quilt or a Dear Jane, but last Christmas I picked up a copy of Down Under Quilts that had a feature on the famous Mrs Billings Coverlet. I wasn't exactly spell-bound. It's a very BROWN quilt, and as much as I love all quilts and think they are all amazing works of art, this was not my jam.
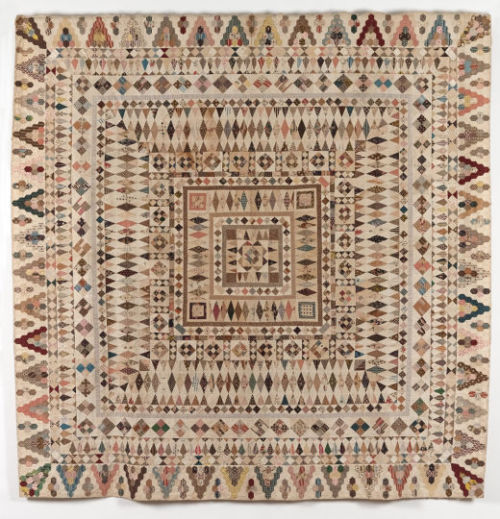
(This photos is the original coverlet and it's NOT my picture.)
Anyway despite the brownness, it stuck in my head a bit. A few months later I was paging through the magazine deciding whether to keep or recycle it when I spotted it again. I sat down and reread the article and saw that Karen Styles (who is super nice in person by the way) of Somerset Patchwork had actually created a pattern for the Mrs Billings Coverlet!
My birthday was coming up, and I wanted a big project, right? But...I had no real plans to embark on a 94" square, mostly hand-pieced quilt. Ha. Hahaha. That would be freaking ridiculous, right? RIGHT?
By the time, the Sydney Craft & Quilt show was fast approaching, and I knew I would be there as I had two solo quilts showing (one of which won an award!) as well as a group quilt. I saw that Somerset Patchwork would have a booth. I didn't want to buy any pattern that expensive sight unseen. I'll think about it, I said.
Which meant I just need to see it first.
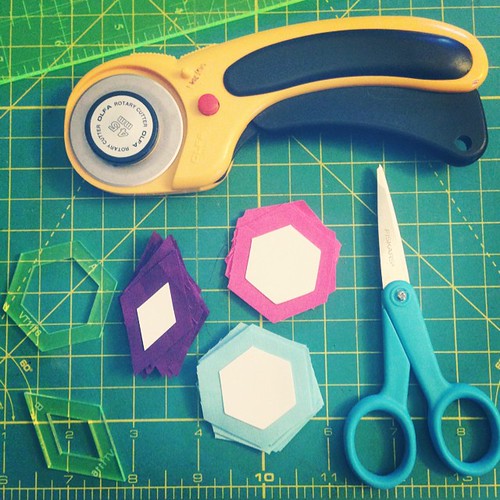
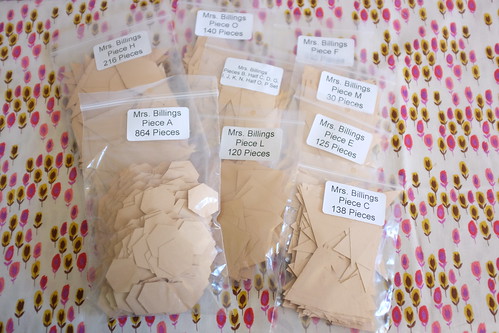
Anyway, I did buy the pattern. It is expensive, so be warned, it's not something to buy on a whim. I had to assure myself and my bemused but extremely supportive husband that, unlike 80% of the patterns I buy, I planned to actually *make* this quilt. I went ahead and splurged on the Paper Pieces starter pack. The pattern from Karen Styles comes with the acrylic templates and 1000 hexagon paper pieces to get you started. So the day before my birthday I cut out all the hexagons for the centre medallion and prepped them.
I sewed them on the train on my way to my birthday breakfast. I even finished the medallion that day!
Soon after, my paper pieces arrived in the post, and though daunting, I was ready to get started!
Though I've done relatively little in the five months I've had the pattern, I'm not that worried. I recently went on a border-bender, where I chose and cut and assembled borders ready to be pieced. And I gave myself permission to sew it using the machine. (I had been planning on doing it all by hand.)
The pattern is so far very comprehensive. Each step is fully explained and there are neat little tips in there too (like "cut extra, this shape shows up in another border"). I've only found one pattern error so far but it was a pretty annoying one - the background square upon which the medallion is appliqued is listed as being cut too small. Just use a FQ or something and trim it; trust me. Much easier.
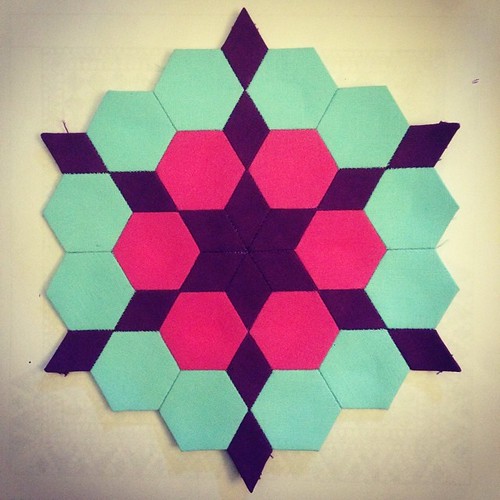
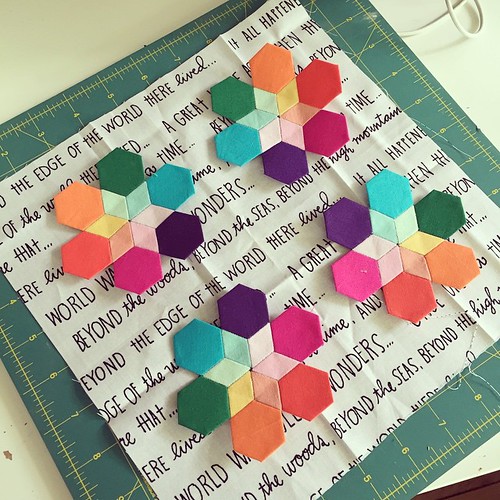
I have been jumping around; I wanted to do some hexagons, and the next ones are a few borders past where I am. But I decided it was okay to skip around a little bit! How good do these cornerstones look? Mad props to Bec Skyberries who sent me that 10" square so I could use this fabric as background for these hexagon rosettes. (I was exactly 4 squares short.)
I should probably get onto the next border, the mint flowers, and just smash that out. I know I'd be happy to have it finished! But I am enjoying hexagons, so...maybe I'll get those basted and ready to go.
I'll try and keep posting about this regularly, under the "jenn does mrs billings coverlet" tag. I also have a Flickr album set up and you find it under the same tag in Instagram.
Do let me know if you're inspired to pick up the pattern, too! I'd love to have a partner in crime!

Reader Comments