Hi everyone!
This evening we're finishing off the rainbow fins for the Sydney Modern Quilt Guild group quilt. This tutorial covers how to sew the eyes and block squares on and discusses a final aesthetic tweak! If you're looking for the other tutorials, they're here:
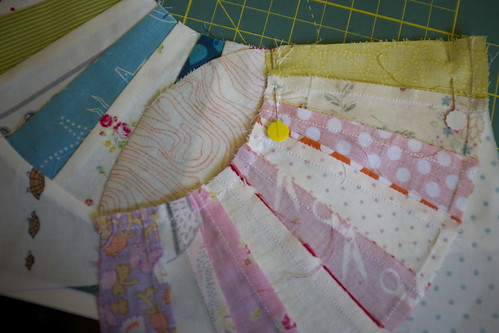
Our fins should have "corners" attached, and still be sewn to the foundation paper. Transfer the markings to the edge of the fabric side.

Gently work the paper on the edge open with a finger.
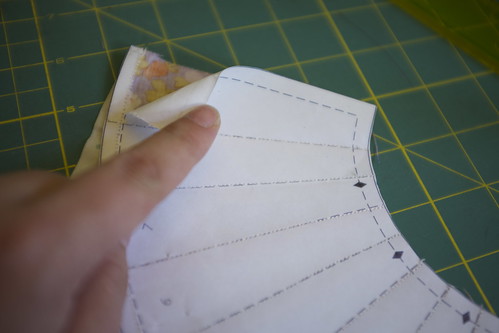
Bracing your other hand against the paper, tear the first segment away.

You can "pop" the seam of the next segment by just gently pulling the fabric at the seam. This makes it easier to get the next segment torn out.
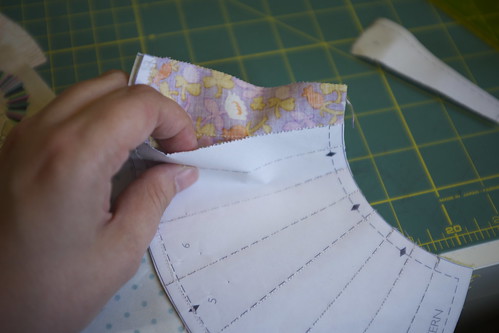
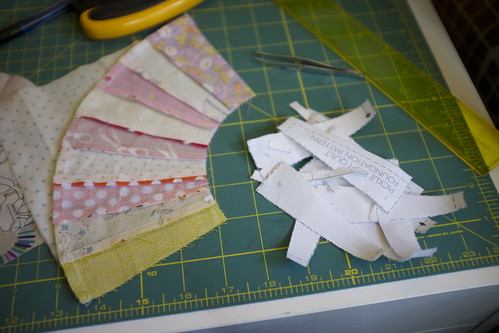
Once all the segments are out, go back and get the little 1/4" bits.

If there are any stubborn bits of paper, you can simply pull them out with tweezers!
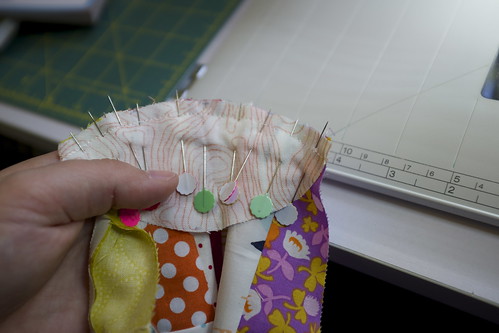
Find your "eye" piece and match it up with the markings on the fins!
Pin outward from the center, matching the markings up as you go, and easing the eye along the inside of the fin piece.

Sew it VERY slowly!
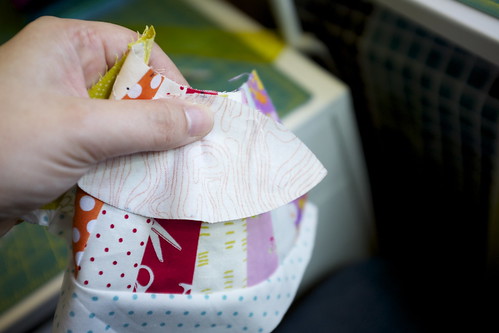
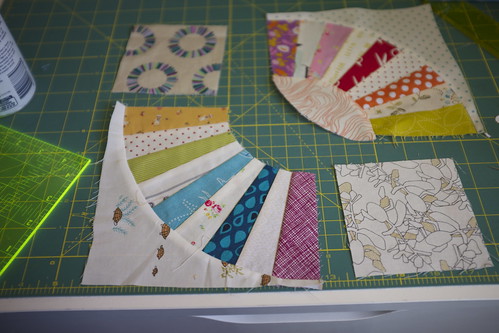
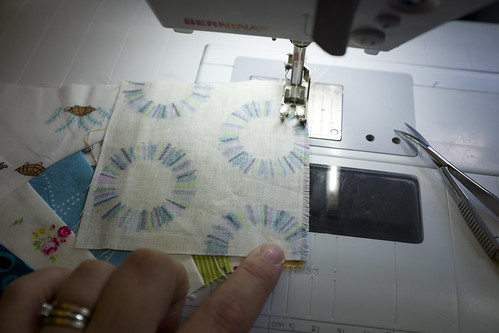
Take the second fin and your two square blocks. These are 4" in size and you can make them by rotary cutting them like you would any other piece of patchwork.
Line them up against the edge of the fin piece and sew it together with a 1/4" scant seam.
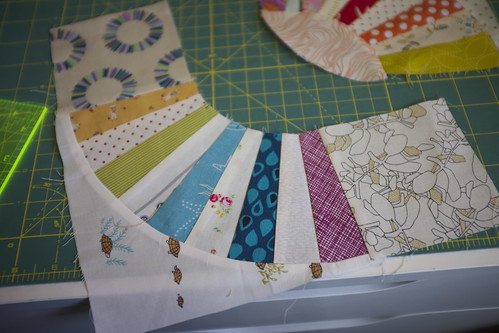
The two "halves" of your fin block will look like this.
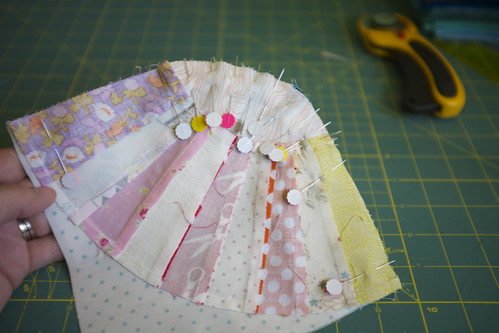
To combine these two pieces, you attach the eye to the inner edge of the other fin piece. You need to pin the seam edges first, locking them as shown, and then match up the markers.

This shows the first two pins!
Pin like crazy as you ease it around. Sew slowly and be mindful of your pins!
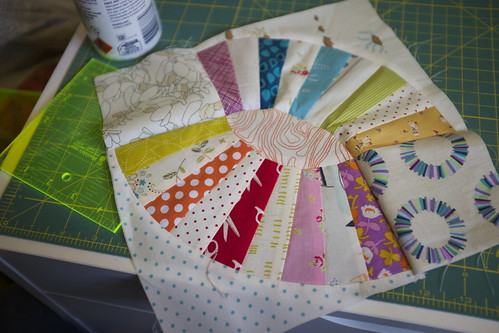
When you are done you will have something that looks like this! Mine was very puffy and needed a good spray starching and a nice press with the iron.
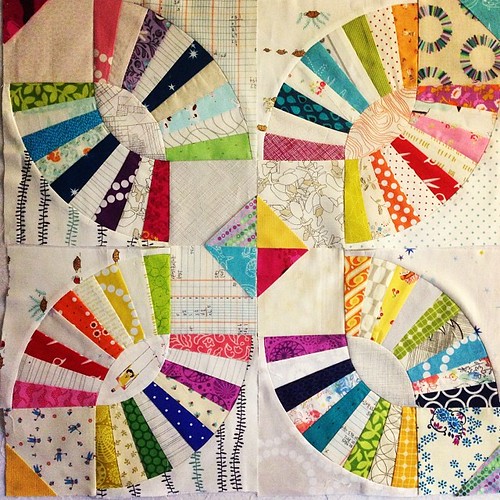
All four of the blocks I've made so far look like this. But they seem a little lacking!
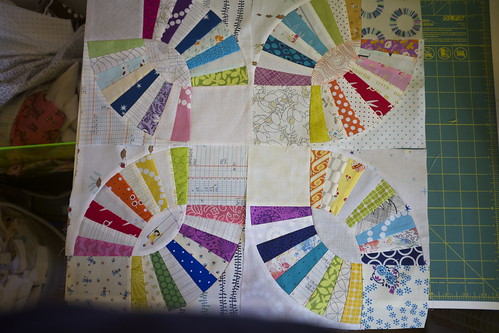
So I added a pop of color in the form of HSTs to give those corner blocks some life! I think that's the way to go!
Thanks for turning up and having a read of these tutorials - hopefully they were helpful!
Cheers!
Penny x