Hi everyone!

Hope your week is starting out nicely! I am currently blogging from the car, and my little monster is NOT very happy. (I took the plastic wrap off her sandwich. HOW COULD I! Toddlers, lol.) So I hope this is coherent (and that I don't type "please stop screaming" by accident)! :)
Last week we talked about cutting the flying geese for border number four. Now we're going to talk about chain-piecing your cut triangles to make the flying geese units (FGUs). I've had reports of varying success using a scant seam versus a true seam. For me, both times (on two different machines), scant worked well. I will talk a little bit about how big they need to be in a moment, but I'd love to hear your feedback!
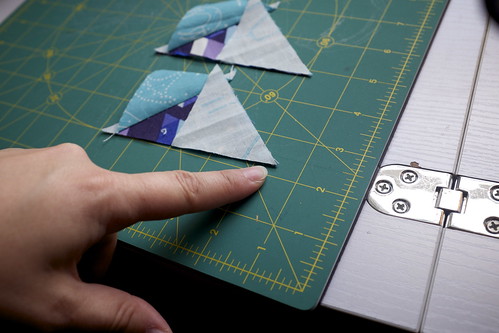
So, gather up your triangles, two little ones for each big one.
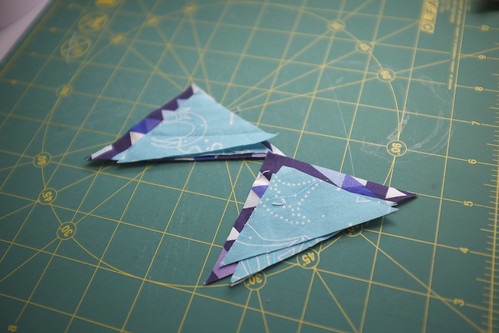
Find the right angle of the smaller triangle and line it up with the longest side of your larger triangle (this is called the hypotenuse). Make sure your points match up.
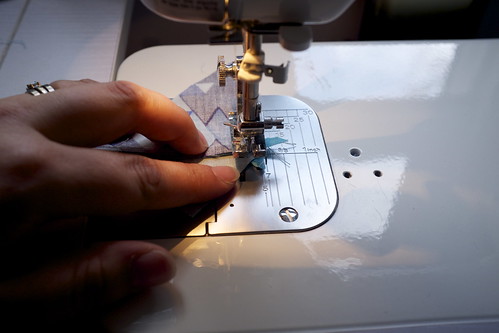
I like to chain piece these slowly, adding a small triangle to the larger one before I feed each one in. It's slower going but it's very accurate and still chain piecing (which makes it speedier than making the individual units).
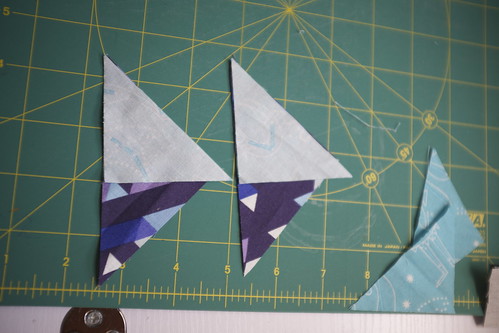
Carefully press these outward. I always, ALWAYS press the seams to one side on flying geese, and it is always outward toward the smaller triangle.
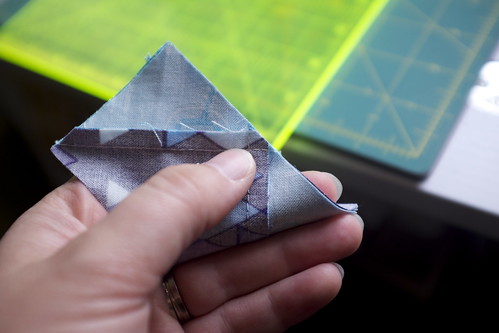
Now get your other small triangle and repeat the right-angle against the hypotenuse, making sure those points match up (I'm pointing to them).
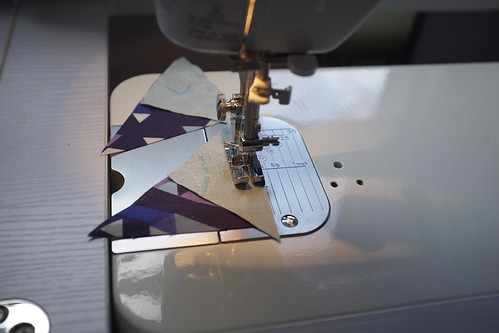
Sew sew sew. (That, by the way, is a scant 1/4" foot for my Juki. It's okay. I should review it later.) If you look carefully you can see that the stitching line will come out exactly at the intersection of the tag and the FGU.
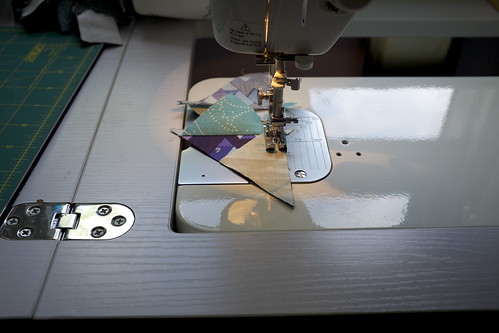
You can chain piece these too.
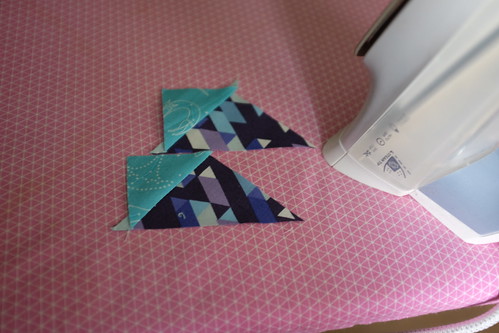
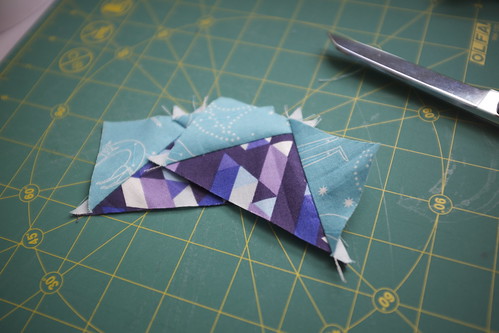
I didn't bother trimming mine (!) because I knew they were pretty accurate, so I just snipped the tags off and evened up any really wonky edges with scissors. IF YOU DO TRIM YOURS, they need to be the width of the cornerstone block. Flying geese height is width ÷ 2 + .25".
So if you had a FGU of 6.5" width, the height would be 6.5" ÷ 2 = 3.25" + .25" = 3.5".
But that is NOT the measurement of this FGU. I will let you sort that out amongst yourselves. :)
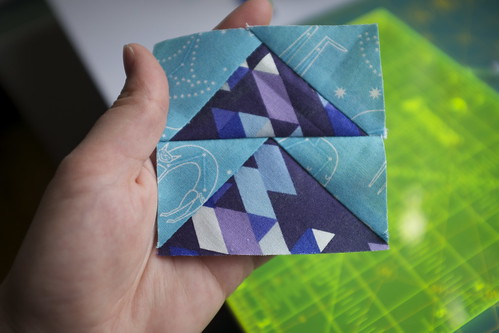
Now to sew them together, they should be right sides facing, the point of the top one against the hypotenuse of the bottom one. If my point was a bit shy of 1/4" then I try to make it 1/4" by moving the bottom piece up a bit. This is probably not very good advice, but I did it more than once and mine turned out okay! (Luckily?)
Sew them together, and press. I always press the point upward, so the hypotenuse end of the FGU is pressed under the one directly below it. I hope that makes sense - I am regretting not taking a picture of the back now!
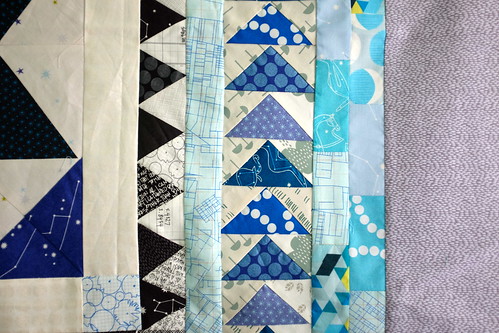
This is a sneaky sneak peek of where I am at with my quilt top. So far I am pretty impressed that my points are as nice as they are - I blitzed through this border Sunday night while my husband was watching a movie behind me!
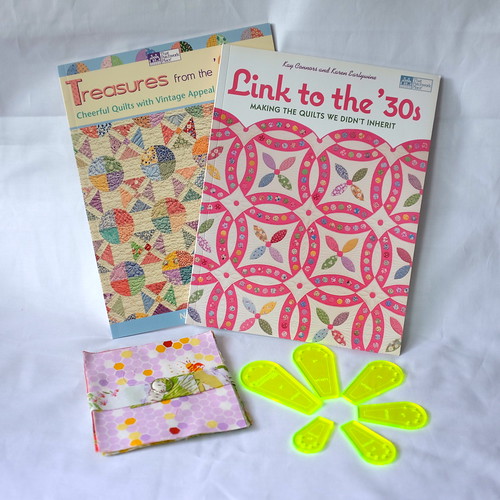
This week's giveaway is pretty sweet - two books, Treasures from the '30s and Link to the 30s, plus a charm pack of Briar Rose and a mini rounded dresden template set (4" - 9")! All you have to do to be eligible to link up down below!
Now, if you don't have a blog, and you are on Instagram, as long as your account is set to public you can access your Instagram picture from a web browser. The url looks something like this: http://instagram.com/p/ezyAvqzPSD/#
That should work!
Here is the linky, and I can't wait to see how you are all going!!
Penny xx