I am in the midst of my SECRET PROJECT so I won't go into too much detail, except to disclaim straight away: this is not the whole quilt top!
That said, if you want to follow me on Instagram, feel free! (But please leave a comment or email me letting me know who you are/what your blog is, as I am set to private.)
Now, to the point: in this secret project, I screwed up. BOO. It's the last block of this section, and I am testing out my new, nearly idiot-proof system because, let's face it, I'd rather do someone once than twice. (Wouldn't everyone?) I'll blog about my method later, when I announce the finished quilt, but for now, let me just say, I made a dumb, dumb error, and I didn't notice it until I had a whole huge section finished. (And if I'd been doing it a different way I'd probably be in despair because instead of one error, I'd have 15. So I'm happy with the new method, but still made a mistake. Such is life.)
Anyway.
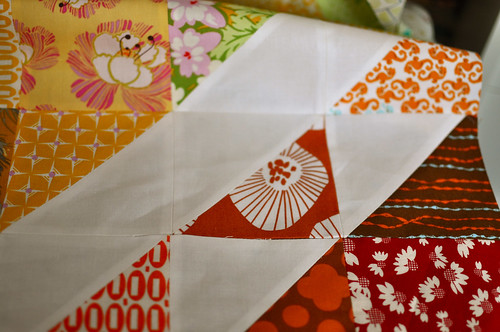
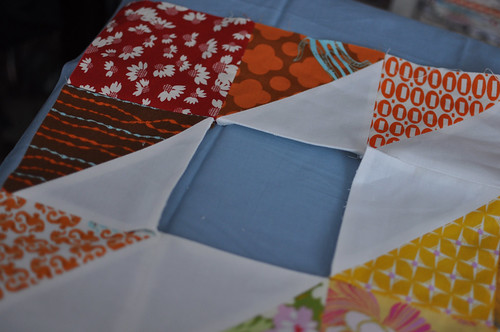
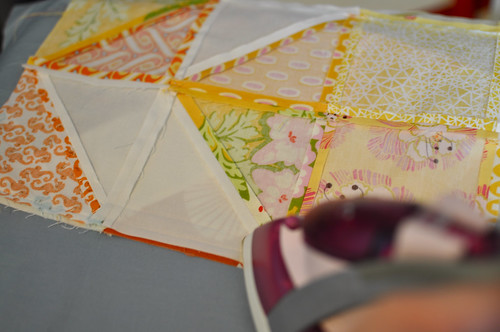
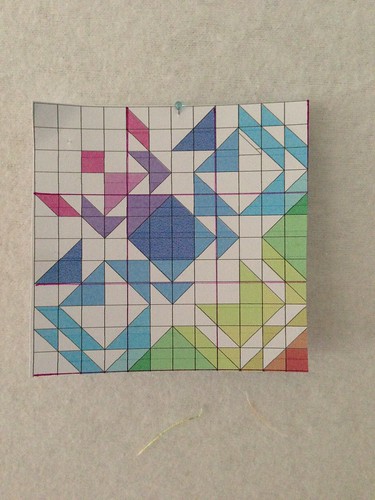
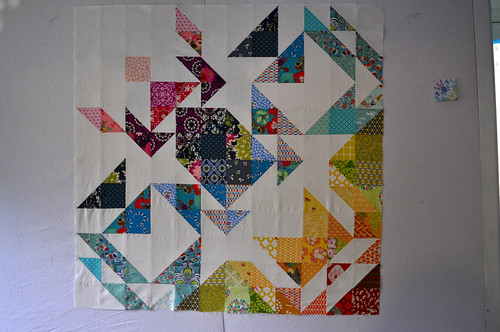
This is a picture of the current quilt top (not completed) against the relevant section of the pattern (not the whole thing):

Do you see the mistake? Second HST block in and up from the bottom right-hand corner. I only saw it when I put that picture together. That gust of wind you felt about two hours ago? That was me, sighing. SIGH.
I knew I had to fix it, and I did NOT want to tear apart a whole bunch of blocks, so I decided to do it in situ. This is how I did it, and it's a pretty good tutorial for anyone who's ever gotten this far and seen a mistake they can't UNSEE.
Tutorial - How to fix a quilt block in situ
Tools needed:
- iron
- pins
- sewing machine
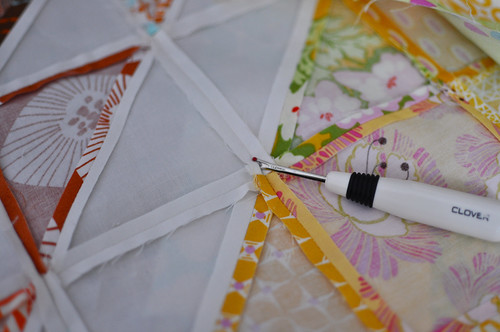
- totally awesome seam ripper (I have both a Clover and a Havel Ultra-Pro; I used the Clover here)
- thread, sewing machine, snips (I use Squissors) etc
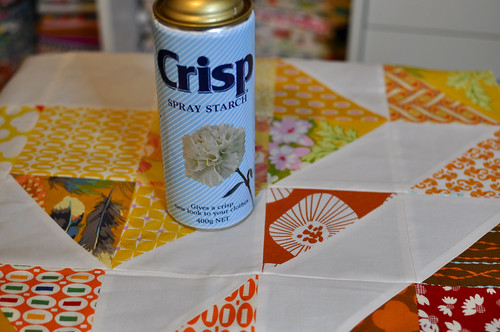
- spray starch (I use Crisp)/Best Press (optional)
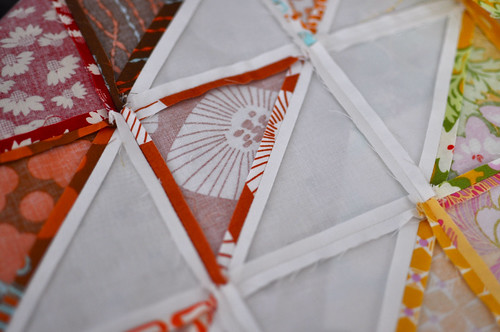
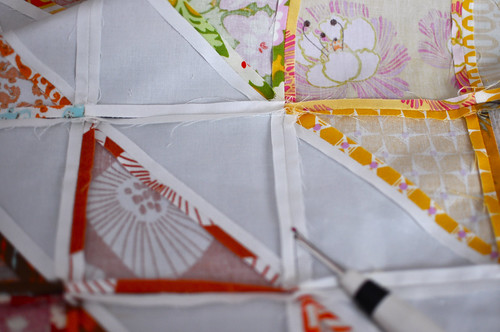
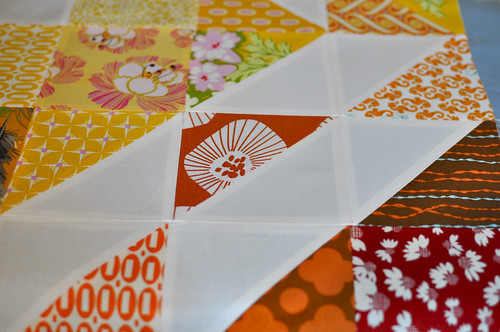
Identify the offending block. Hi there, Echo HST. Your days at that rakish angle, they are numbered.
Turn your quilt top over and sigh again...I mean, identify the block you'll be taking out. I also checked the long-pressed seams versus the short pressed seams. Those are the ones you'll be unpicking to start.
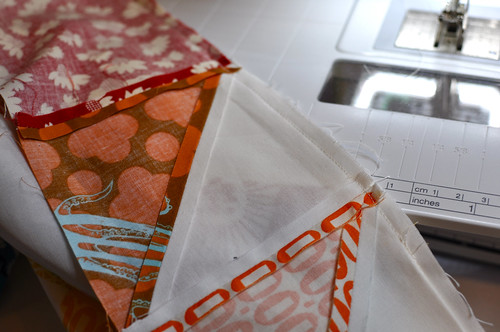
Get your seam ripper and, starting 1cm (half an inch?) above the block, unpick the long-pressed seam on one side.

Do the same on the other side. It's important to also go 1cm (.5") or so beyond the block too.
Here you can see the block completely freed on the two long-pressed seam sides.
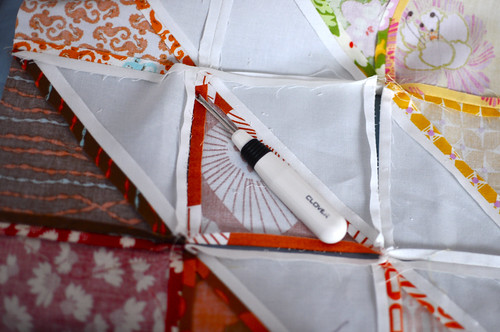
Now, the short-pressed seams. These I did a little differently: I started a quarter to a half inch inside the seam, mostly so I could seam-rip without losing the tension or risking my poor little fingers. Once you get to the end you just turn the seam ripper around and finish it up.
All unpicked on this side!
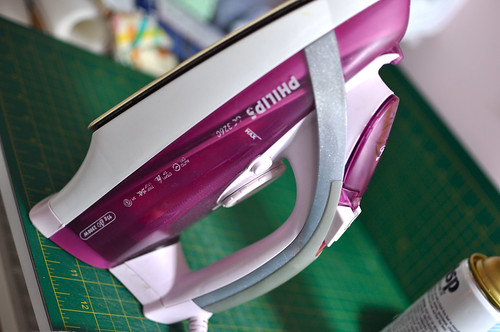
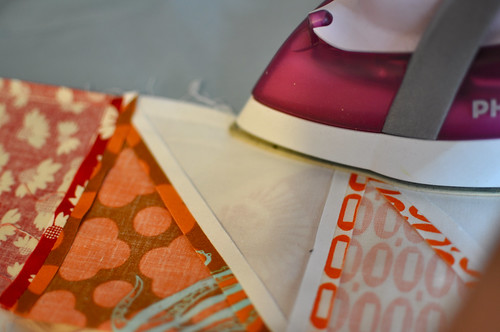
Oh. Turn your iron on. Mine is called the Pink Hulk. She is old and creaky but I still love her.
Unpick your fourth side, which is the second short-pressed seam, and be sure to start a little bit inside the seam so you can just run through that seam (carefully).
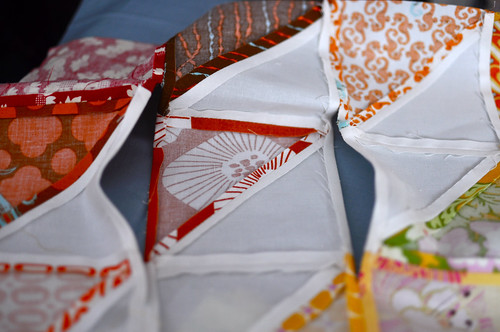
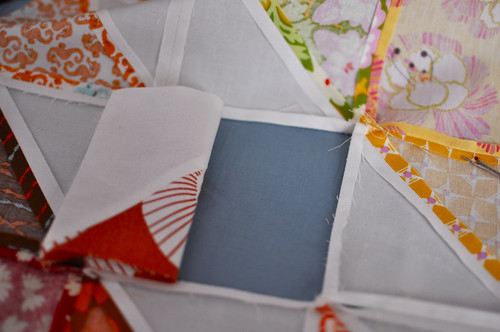
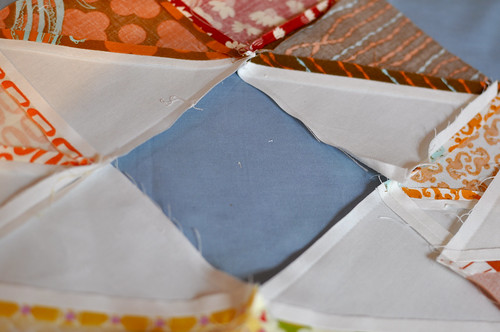
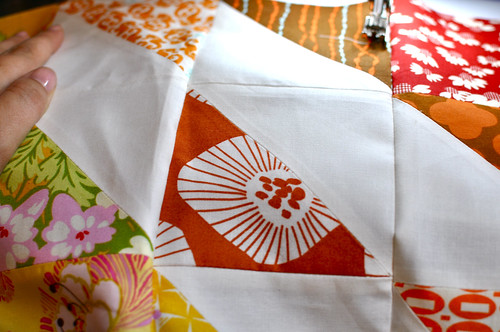
Ta-da! Your offending block has been relieved of its duties. Now you have a hole! What every quilter loves! (NOT.)
You can see how there is a sort of neat rectangular hole there, not a mess of unpicked seams? This is why we went along the long-pressed seams. It makes it easier to put back together.

Press your liberated block. Oh, but it's all hairy. Hmm. What do I have close to hand...?

Sticky tape, NIIIIICE.
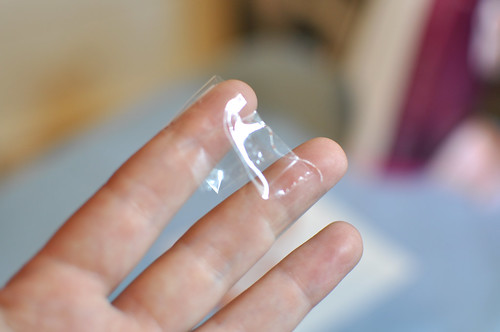
Yes, that looks better. (This is such a classic ME step, honestly. I'm fussy about tiny little threads. The backsides of quilt tops give me nightmares, I can't DO rag quilts, I love bias-cut blocks, etc etc.)
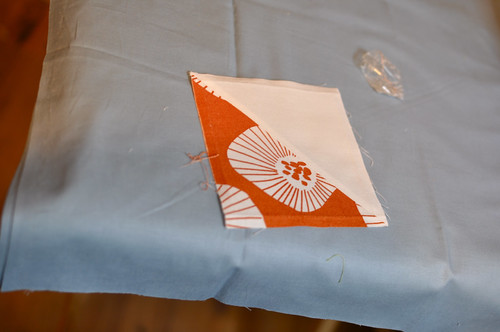
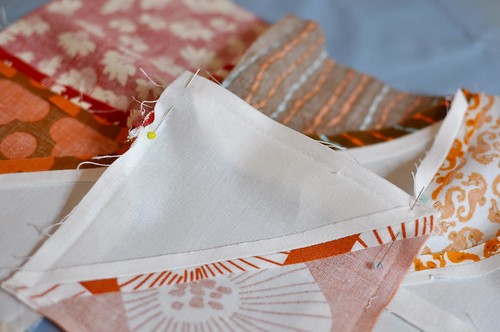
Now, get your quilt top and press flat the edges of the hole. They should be as close to normal as you can make them. You're sewing right exactly on the lines so they don't have to look like fresh-off-the-bolt fabric, but should be flat enough to work with.
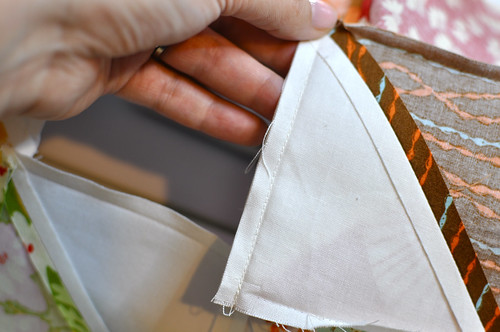
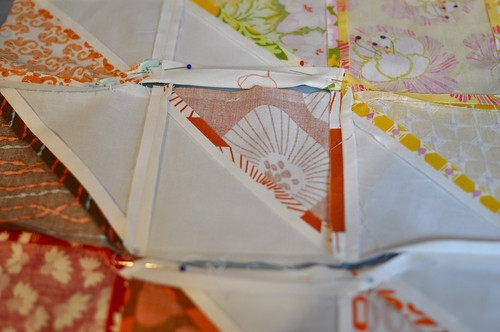
Take your liberated block, check its placement (!), and pin it in. See how that little extra bit of unpicking helps to lift the seam away from the quilt top so you can re-sew it? That is why we unpick a tiny bit extra.
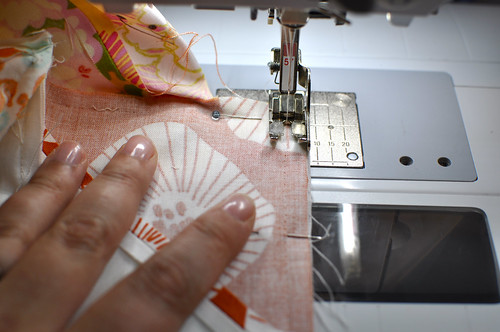
Stitch it up. I use a normal stitch for all my sewing (between 2.4 and 2.8 on my Bernina) and I will forever sing the praises of my #57 quarter-inch foot.
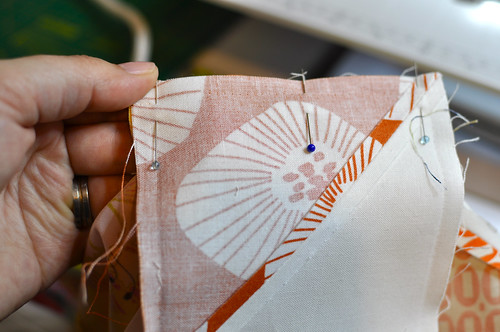
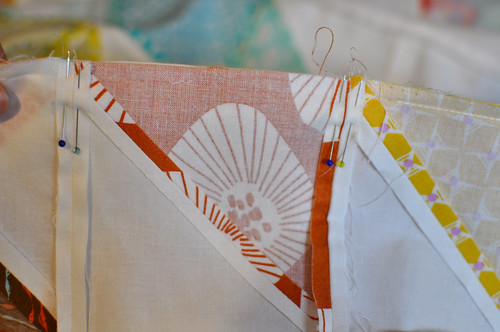
Now do the same to the other side. (I used three pins on the second side because it was two half-square triangles, and I find they get a bit wobbly if not securely pinned.)
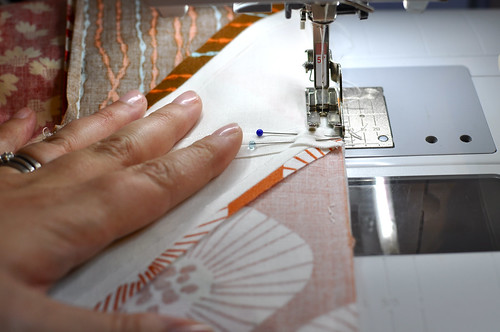
Stitch that little block in place!
Pin back the long-pressed seams and press open the seams you've just sewn. Those are your new short-pressed seams. I gave them a long finger-press and then dabbed the iron on, trying not to disturb the other seams. A tiny iron would be excellent here.
Unpin and fold over your quilt top to match your new block against the top. Press those seams flat. (It's just easier than fighting with pressed-open seams.)
Pin it together and take care here - it needs to go in well, so if it's too small or too large you'll have to go in and unpick your newest seams, adjust accordingly, and then get back to this step. (Thankfully my blocks and seams are pretty correct so this didn't happen...this time!)
Sew your long-press seam sides together.
Flip it and find the last open seam, then press the sides flat. Pin that and sew it together.
This is the second long-pressed seam side, newly sewn! Congratulations, you are done with the sewing part! YAY!
Turn the quilt top over and check to make sure the placement is correct and it fits well (not stretched or bubbled).
Turn the quilt top back over and press the long seams open.
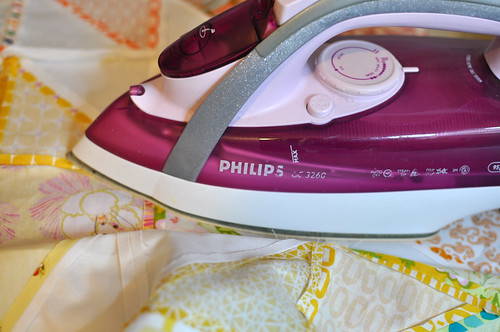
Turn it to the front and lay it flat on your ironing board, and get your ironing aid if you're using one. I use Crisp because it's cheap and I wash my quilts before I sell or give them to people, but I have heard excellent things about Best Press. I am the kind of person who turns her quilt blocks into kevlar with spray starch though. So I love this step. Spray, and press. Ahh. Smells so QUILTY.
You could bounce a dime off that block. And, oh, the important thing: IT IS FIXED!!
Wait....you sure it's fixed? Let's check the pattern:
And now the "whole" quilt top:
That's much better. And it took maybe fifteen minutes! Including taking photos of every step like a crazy person. :)
I really hope you find this helpful! It is such a frustration to get all done (or partially done) and find a mistake that is super easy to make, but seems insurmountably awful since all the sewing is done. The only thing worse, I think, is un-quilting.
Thanks for reading my first tutorial and if it's not clear at any point, please let me know in the comments!
Cheers,
Penny xx